9 Steps to Winterize Your Grill
Unless you’re lucky enough to live in a part of the world with a mild winter, or you love to grill, rain, shine or ten feet of snow, you’re most likely going to pack up your barbecue sometime in the fall. Spend a little time winterizing your grill by performing preventative maintenance to help it last longer and perform better. This quick service will ensure that your grill is ready to go when the first hint of spring hits and you’re itching to fire it up again.
Follow these steps to winterize your grill.
1. Don’t Wait Too Long
Your job will be much harder if it’s been a month or more since you last used your grill. If the weather is awful and preventing you from grilling, but temperatures are above freezing, mould has started to grow inside your grill, and the higher-than-average moisture level this time of year is feeding your grill garden. If you know the weather always turns in November, plan to throw one last game day hurrah in October, then winterize your grill the following weekend.
2. Fire It Up
Turn all of the burners on HIGH, set your pellet grill to the steak preset, or get a blazing hot pile of charcoal going and let it burn for 20-30 minutes. This burns off all the remaining organic matter and grease and will make cleaning easier. If there’s smoke, there’s still grease and grime to burn up; let it burn completely. Let the grill cool completely before cleaning.
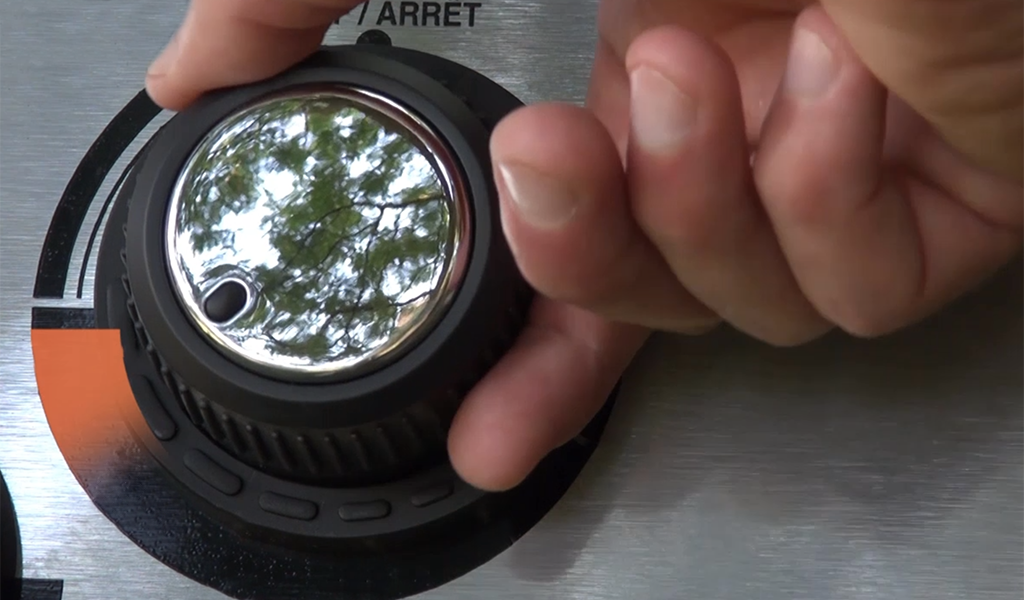
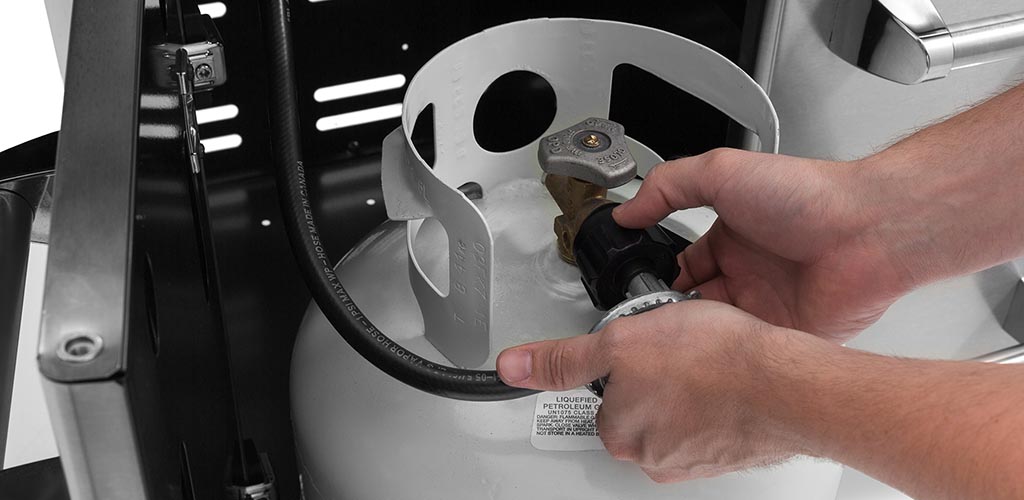
3. Disconnect the Grill
Ensure the gas is off, then disconnect the tank from the hose.
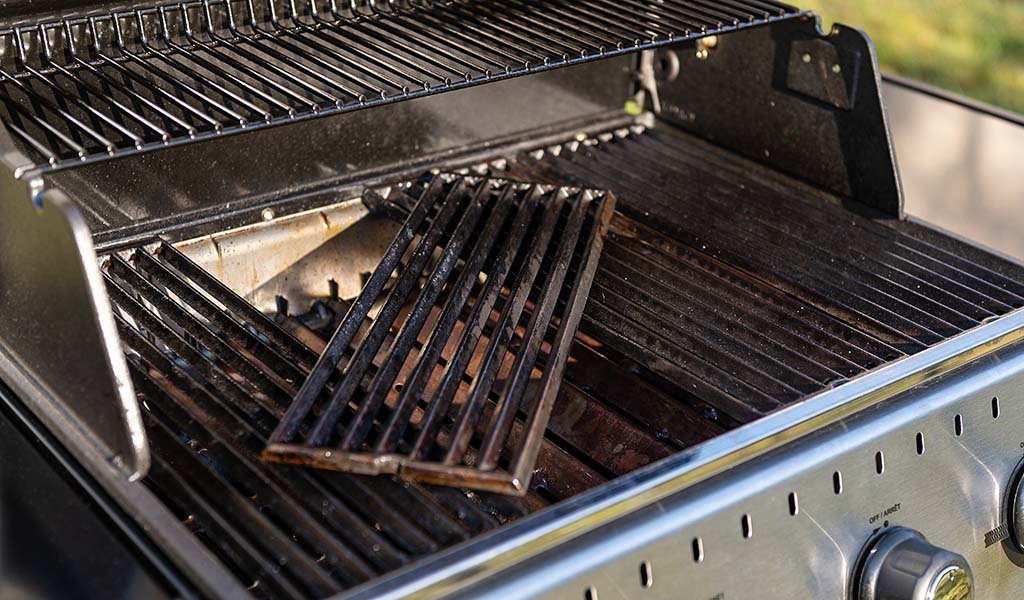
4. Clean The Grill
- Use a heavy-duty stainless steel grill brush to clean cooking grids, Flav-R-Wave and any burnt-on debris in the cook box.
- Disassemble the grill as you go. Brush the warming rack and grids (on both sides), remove the grids, brush the Flav-R-Waves, and remove them.
- Vacuum out ash and debris left inside the grill with a utility vacuum (don’t use the Dyson!).
- Use dishwashing detergent and hot water to clean the grill’s external components.
- Use a grill degreaser and rag to remove the remaining residue, the hard stuck-on stuff. Spray down the inside of the grill and all of your grill interior components, like cooking grids and the warming rack. Let it soak, then rinse thoroughly.
5. Inspect All Parts
As you disassemble the grill, check each component. Look for rust, deterioration or cracks on cooking grids, the Flav-R-Wave, burners, grease tray, rotisserie, or hose. Inspect the control knobs, handles cabinet doors and shelves. If you need to order new parts, contact us for OMC replacement components. Always check your warranty first.
6. Inspect Exterior
Your painted, porcelain-coated or stainless surfaces should all be clean and stain-free. The Broil King revitalizer cream is the perfect tool to remove stubborn staining from your stainless or porcelain surfaces and make them look new. If there are spots on the exterior of your grill, clean it with soap and water, rinse it with water, dry it thoroughly, then use the grill revitalizer to restore the natural lustre.
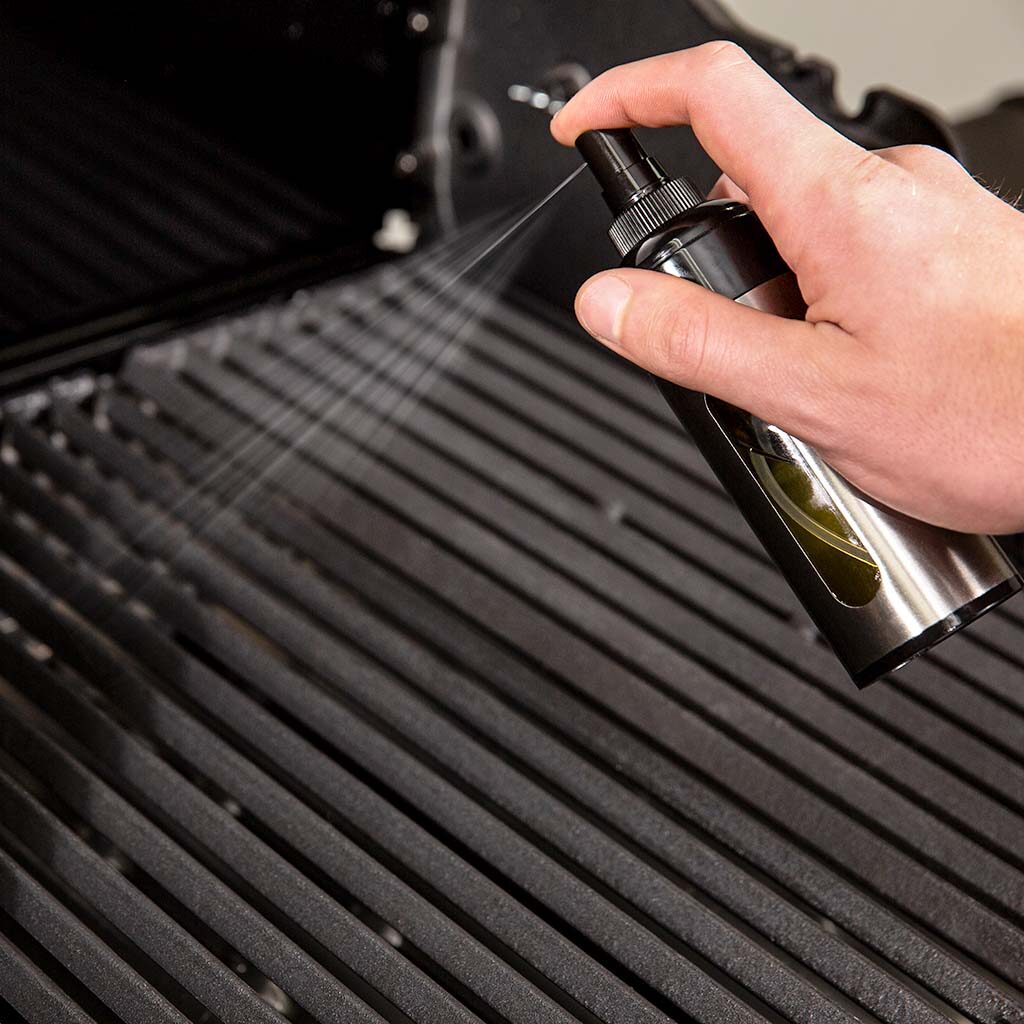
7. Season The Cooking Grids and Parts
Broil King grills’ heavy-duty cast-iron cooking grids are built to last when properly maintained. Season the cooking grids with any vegetable oil to protect them against rust over the winter; season them well, as oils also dry out over time. To defend your cast grids completely from moisture-related rot, wrap the grids in packing paper and store them indoors over the winter. Spray vegetable oil on all internal steel parts, like the Flav-R-Waves and burners; this will prevent surface rust from forming.
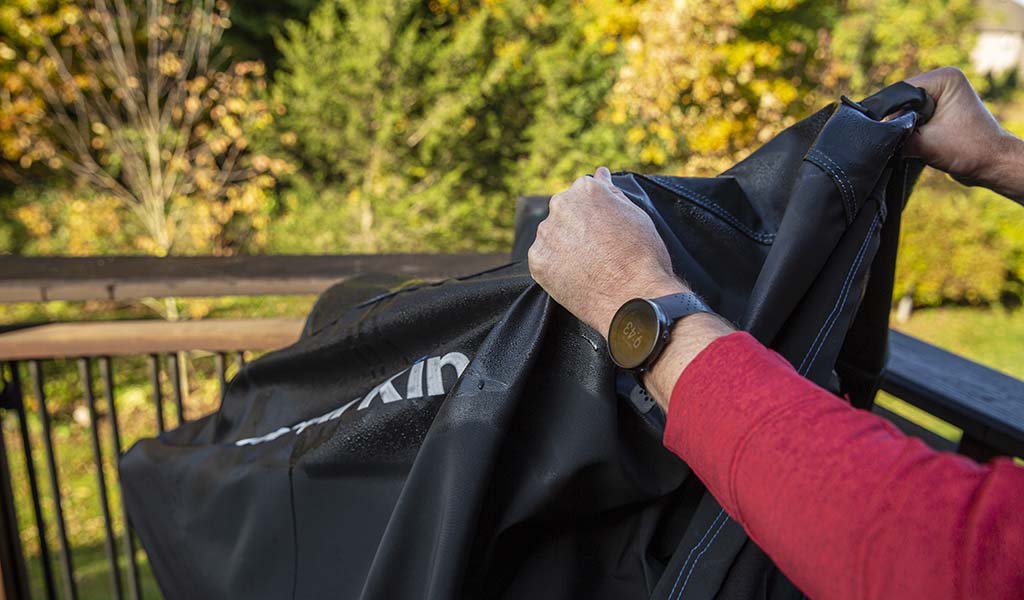
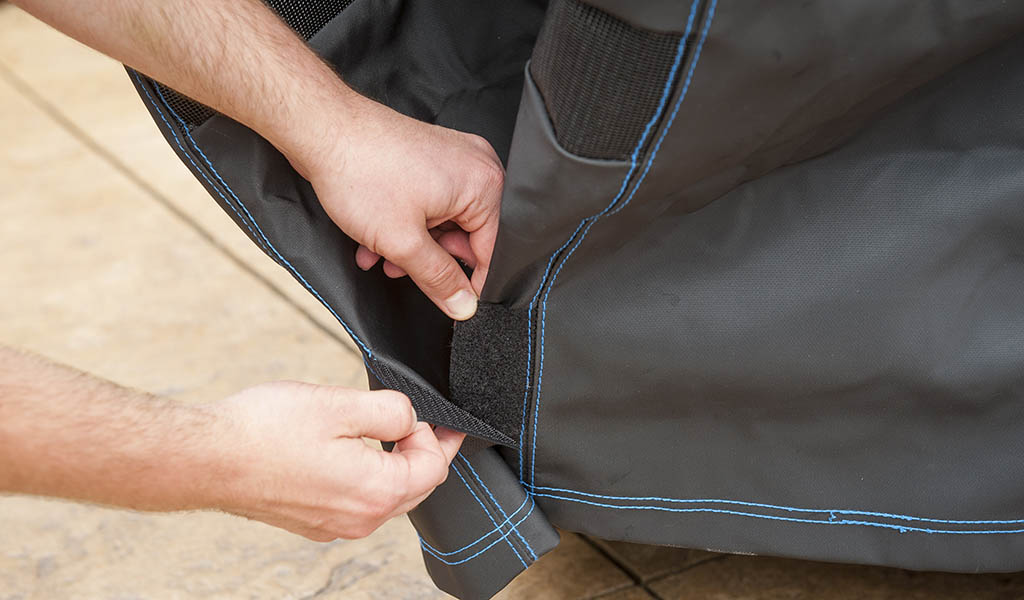
8. Reassemble The Grill and Cover
If you want your grill to be ready when you are next spring, reassemble everything except the gas tank (and grids if you’re bringing them inside).
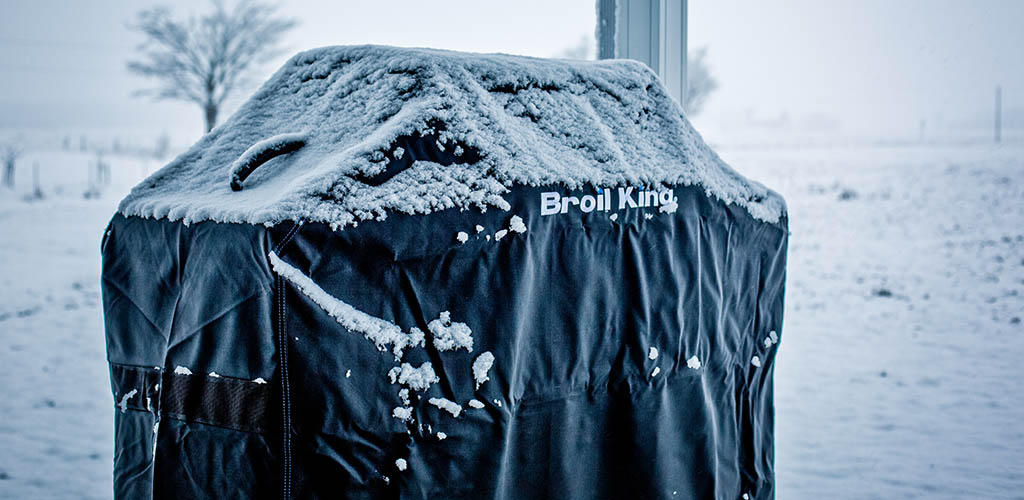
The best way to protect your grill and ensure it lasts many years is to use a high-quality grill cover specifically made for your grill model. When your grill is clean and seasoned, cover it up and secure the closure tabs.
Tip: your grill needs to breathe; the right cover should not extend to the ground or completely seal in the grill. It needs room to allow moisture out.
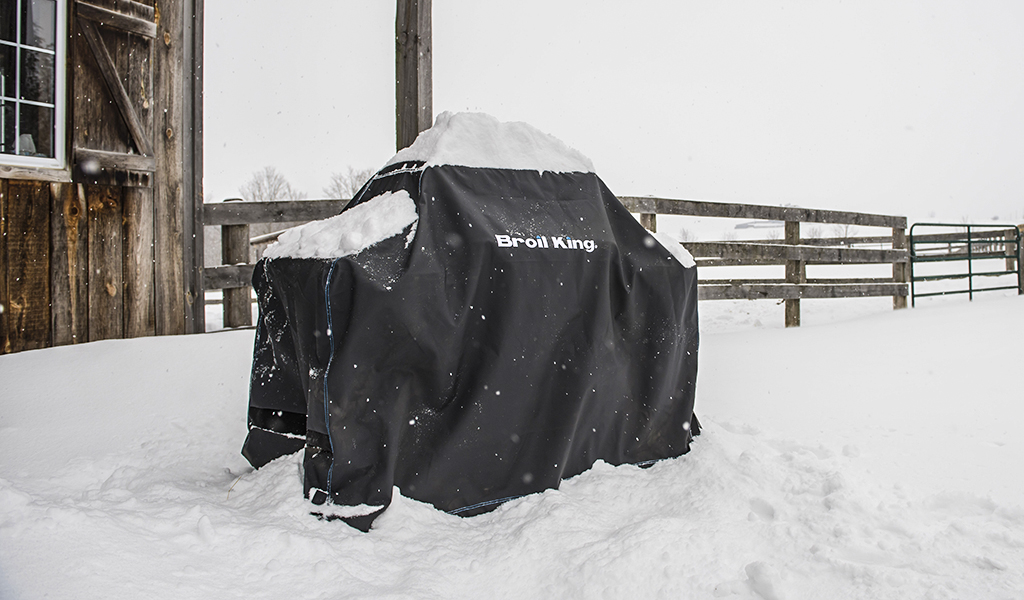
9. Store The Grill
If you have space, the best place to store your grill is in a garage or a shed so that it is completely protected from the elements. Store the gas tank outdoors in a well-ventilated area; never store the tank in your house, basement, attic, or garage. Freezing temperatures are not a problem for propane tanks, don’t be afraid to keep them separately from the grill.
Next Spring
When you’re ready to grill next spring, give your grill a thorough once over to ensure no critters have nested in it during the winter. If there is a nest, remove it before lighting up your grill.
When reconnecting the gas tank, perform a leak test. A leak test should be performed every time the tank is disconnected and reconnected (so every time it is refilled/replaced). If your grill is connected to your natural gas line year-round, a leak test should be performed yearly to ensure all of the connections are tight and sealed.
How to Perform a Leak Test:
- Extinguish any open flame or cigarettes in the area.
- Ensure the gas supply valve and appliance valves are “off.”
- Prepare a soap solution of one part water and one part liquid detergent.
- Open the propane or natural gas supply valve slowly.
- Brush the soap solution on each connection, including the tank, the quick disconnect coupling, and the connection between the orifice and the control valve.
- A leak is identified by a flow of bubbles from the area of the leak.
- If a leak is detected, close the gas supply valve, tighten all connections and retest (Step 4).
- Contact our customer service department for assistance if the leak persists.
- Do not attempt to operate the appliance if a leak is present.
Broil King is Here to Help
If you need help or run into problems winterizing your grill, we’re here to help! Never try to repair a damaged or malfunctioning regulator, hose, burner, or control valve. Contact Broil King customer service at 1-800-265-2150 or [email protected] for replacement and warranty claims.