Technique | Smoking

In this week’s blog, we will explore how to utilize smoke for cooking your food. One of our all-time favourite ways to cook on the grill is through smoking. Think of those southern classics like brisket, pulled pork, or a sticky rack of ribs. The flavour is unbeatable, but a lot of science and skill goes into the proper smoking technique. This is why it can scare off some less experienced grillers, but we’re here to make it easy for anyone to understand and execute at home.
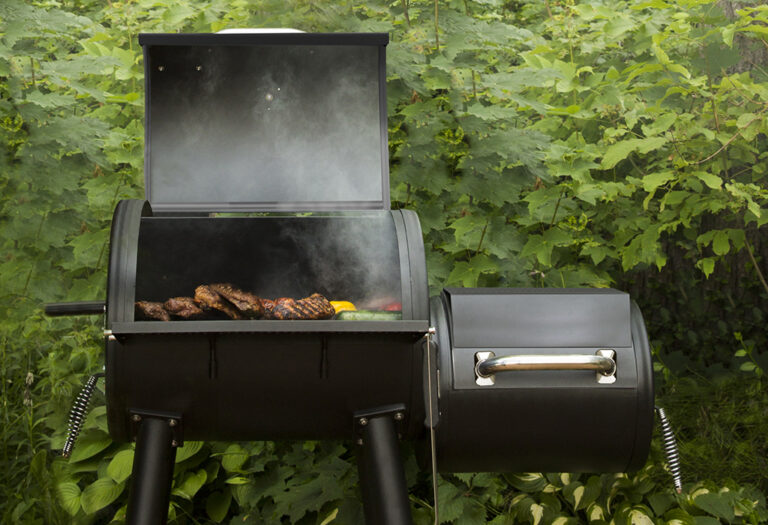
One common misconception is that you need a designated smoker, charcoal, or pellet grill to create delicious smoked meals. While these grills certainly have their advantages for delivering smoky flavour, there are ways to harness smoke on your gas grill too. Below, we’ll look at the science of smoked meats and how to get perfect, melt-in-your-mouth results. Then we’ll go over the steps to achieve those results when smoking with gas, charcoal, and pellet grills.
Why Low and Slow?
The first and most important thing to remember is that smoking takes time. It’s why we often say low and slow in association with anything smoked.
Remember those key points throughout this post: smoky flavour, lower temperature, and longer slower cooks.
Meats like beef brisket and pork shoulder need time to render much of the fat and connective tissue correctly. What do we mean by render? If you cook fat or inter-muscular tissue too quickly they get hard or blubbery, while they will “cook” to an edible temperature hot and fast, they won’t have a texture that you can enjoy. Fats begin to render, read as liquefy, around 140˚F (60˚C) and continues to do so up to it’s peak around 205˚F (96˚C). We’re typically looking for an internal temperature of 203˚F (95˚C) when the meat is ready to be served, but you have to take your time to get there. You can read more on the temperatures of meat science from AmazingRibs here.
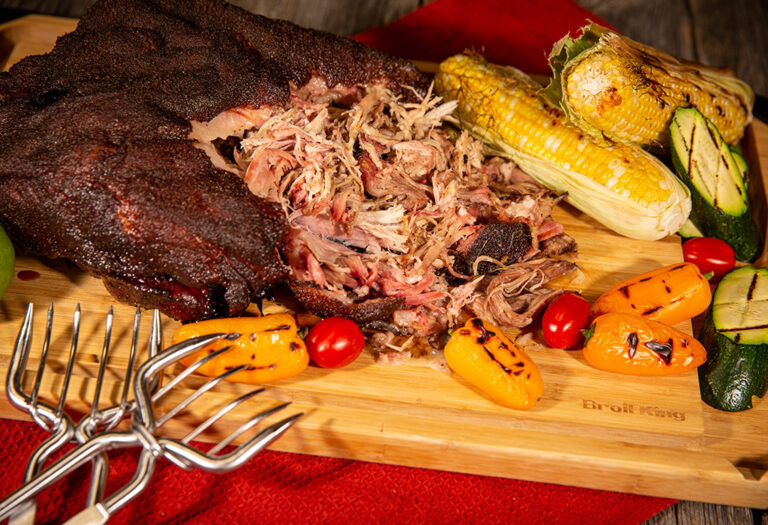
Pulled Pork
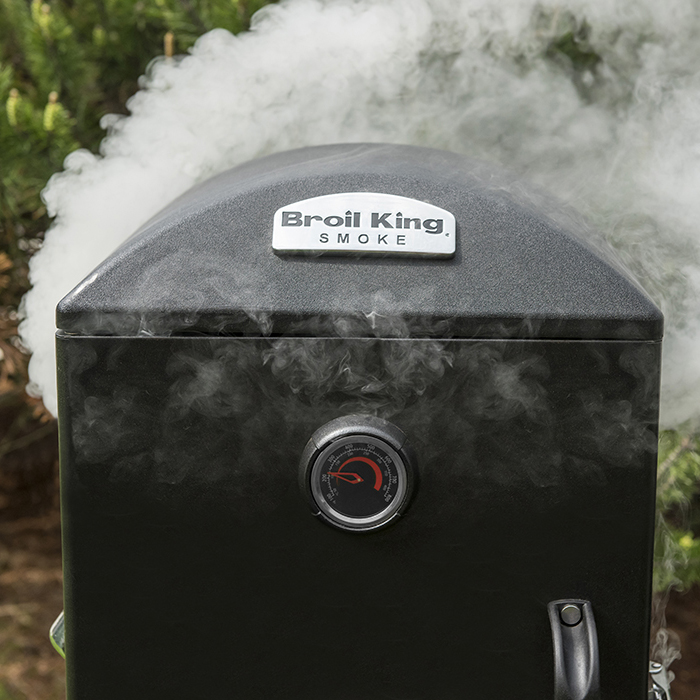
For pulled pork, you’ll target 1.5-2 hours per pound of cook time. This can end up being anywhere from 10-16 hours when you’re serving a small group of guests. That can seem like a daunting task, but the beauty of smoking is that it’s a relatively passive cooking method and is best done with as few interruptions and lid lifts as possible. A fixed temperature probe is essential for this process. Our pellet grills come with two probes that connect to the controller for this exact purpose. If using one of our gas or charcoal grills, the Side Table Thermometer will also do the job. Remember, your pork shoulder is done when it can squish by hand into beautiful moist strands of pork. When you’re done smoking it avoid the urge to shred immediately, let it cool substantially (internally) before shredding.
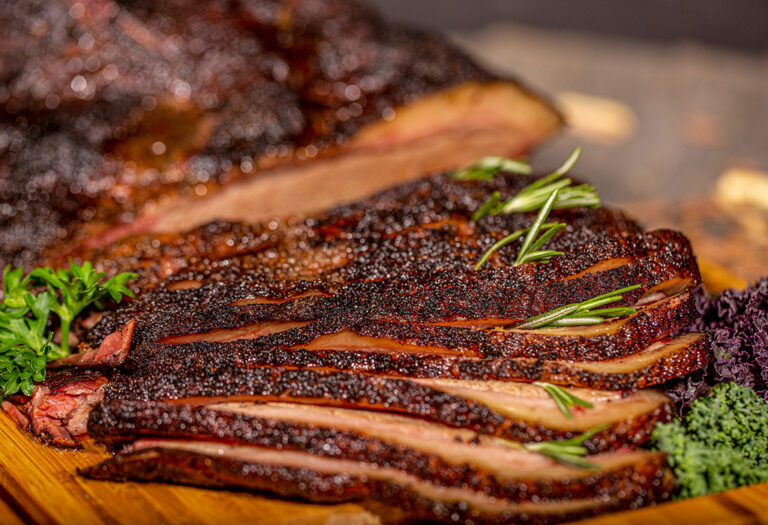
Beef Brisket
With beef brisket, the process is similar to cooking pork shoulder. You can expect to be smoking for 12+ hours, depending on the size of the cut. You’ll want to monitor the internal temperature, letting it cook slowly to get the perfect bark without drying out the meat. Remember, brisket is has both an uneven thickness and uneven distribution of fat. Unfortunately the thick ‘point’ is much fattier than the thin ‘flat’ and you’ll need to modify your cooking style to account for this or you’ll end up with blubbery point meat and dry flat meat.
If you want to cheat, occasionally inject juices and moisture back into the brisket as it cooks, we would recommend this if you know you’re working with a lower quality brisket since anything that can help make it better only makes you look more like a pro. The Marinade Injector is excellent for doing this.
Finally, with both beef and pork, you’ll want to pull the meat from the grill at the 160˚F (71˚C) mark to wrap it in parchment or butcher paper, then place it back on the grill to continue climbing to the final target temp. Why? Smoke is sticky and in the 8 or more hours that it took to get to that internal temperature lots of smoke has adhered to your meat. Now it’s time to cook it internally without drying the meat out. Remember there are lots of ways to cheat but the results are what it’s all about, no need to be a process purest if you’re continually producing poor quality Q. It’s a long, slow process, but the results are certainly worth the time. Take your time and hone this craft, barbecue skills weren’t built in a day.
The most important takeaway is not to rush things; let the meat cook the way it needs to, and your efforts will surely be rewarded. It’s done when it’s done, not when everyone is ready for dinner. An overnight cook may seem nerve wracking the first few times but once you’re comfortable, overnight cooking is way less stressful than relying on a pork shoulder to be done in time for dinner when you started it late in the morning.
Steps for Smoking
So now that we know a bit about the techniques for smoking a couple of meaty classics let’s look at the steps for your actual grill. When you are smoking or grilling low and slow, the heat source is as far from the food as possible, low intensity indirect cooking. You want the heat and smoke to slowly cook, render fat, baste with flavor, all without charring the outside of your food. Let’s look at how we do this on our three grill types.
How to Smoke on a Charcoal Grill
- Using a charcoal chimney or Electric Charcoal Starter, light your coals and place them in the bottom of your grill.
- Keep in mind how much charcoal you light, a roaring charcoal fire produces a lot of heat. A chimney can hold 4 lbs. of charcoal, that’s a lot of canned BTU’s if it’s all lit.
- For a slow, indirect cook, you’ll want to arrange the lit coals to one side, opposite of your meat.
- If you’re using a kamado-style grill, you can utilize the upper cooking rack and a water pan to create additional space between the lit coals and your cut of meat.
- You’re aiming for an internal temperature of 225˚F (107˚C) and will need to monitor and add charcoal to maintain the temperature throughout the cookout.
- Flavor your fire with wood chips or chunks but watch the smoke, if it’s too intense or darker in color it can come with a nasty flavor. More smoke doesn’t mean better smoke.
How to Smoke on a Pellet Grill
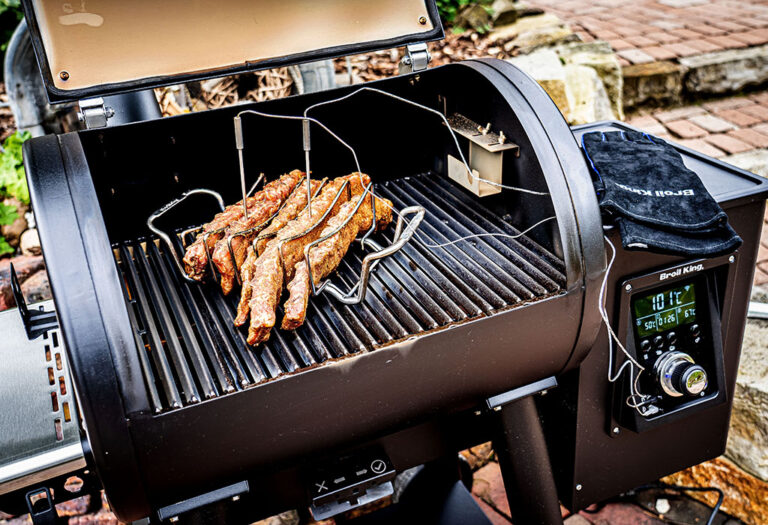
- By far the easiest way to get delicious smoked foods, a pellet grill requires only a press of a couple of buttons to get going.
- On the Broil King Regal or Baron Pellet Grills, there is a pre-set button for smoking (it looks like three wavy vertical smoke lines).
- Once selected, the controller will automatically feed pellets into the burn pot as needed to maintain a temperature of 225˚F (107˚C).
- With pellet grills, they cook entirely through indirect heat, so you have the option of cooking anywhere on the grill surface you want.
- Watch that smoke too, it’s thin and blue, the perfect smoke for your cookout packed with the right kind barbecue of flavor.
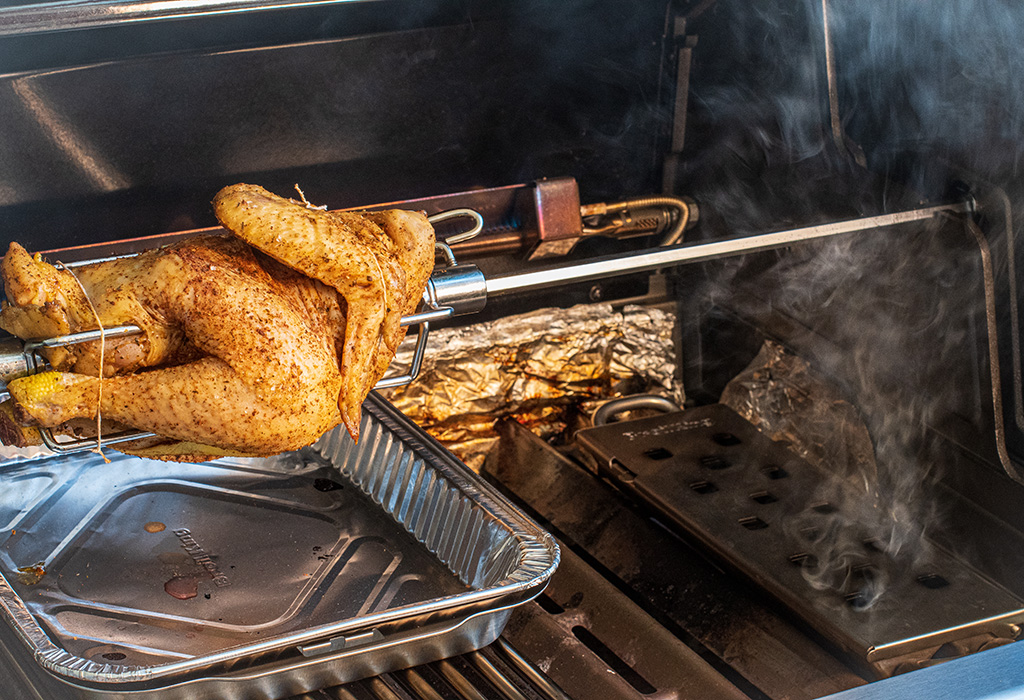
How to Smoke on a Gas Grill
- To smoke on a gas grill, you’ll need the help of a Smoker Box. You can use wood chips or pellets for adding smoke, and there is an assortment of wood types to play around with your flavours.
- For a complete breakdown of using a smoker box, check out our other blog on it, lots of great info in there for the gas grill smoker.
- You’ll place your smoker box above one of your lit burners, putting as much distance between it and your meat. You can do this by only using burners on one side of the grill or utilizing your warming rack.
- As with charcoal and pellet grills, you’re looking to maintain an internal cook box temperature of 225˚F (107˚C) throughout the cook and don’t want to use burners directly below your meat.
- Depending on how quickly your chips or pellets burn, you will need to swap out and refill your smoker box throughout the process. Be generous and remember that it’s about quality not quantity of smoke. It’s better to have a lot of thin blue smoke over time then a big puff of white smoke all at once.
- A gasser makes temperature control easy, all you need to focus on is the smoke and food flavour.