Broil King

Technique | Rotisserie

The fourth and final grilling method we will explore is rotisserie-style cooking. It’s great for barbecuing whole chickens, roasts, and even wings and can be done with or without a rear rotisserie burner. They help cook food more evenly for a perfectly crisp exterior while maintaining a moist center. We’ll look at why to use a rotisserie, how to set up your rotisserie rod and motor, trussing a chicken, and then recommend a few recipes to try out yourself.

Why Use a Rotisserie?

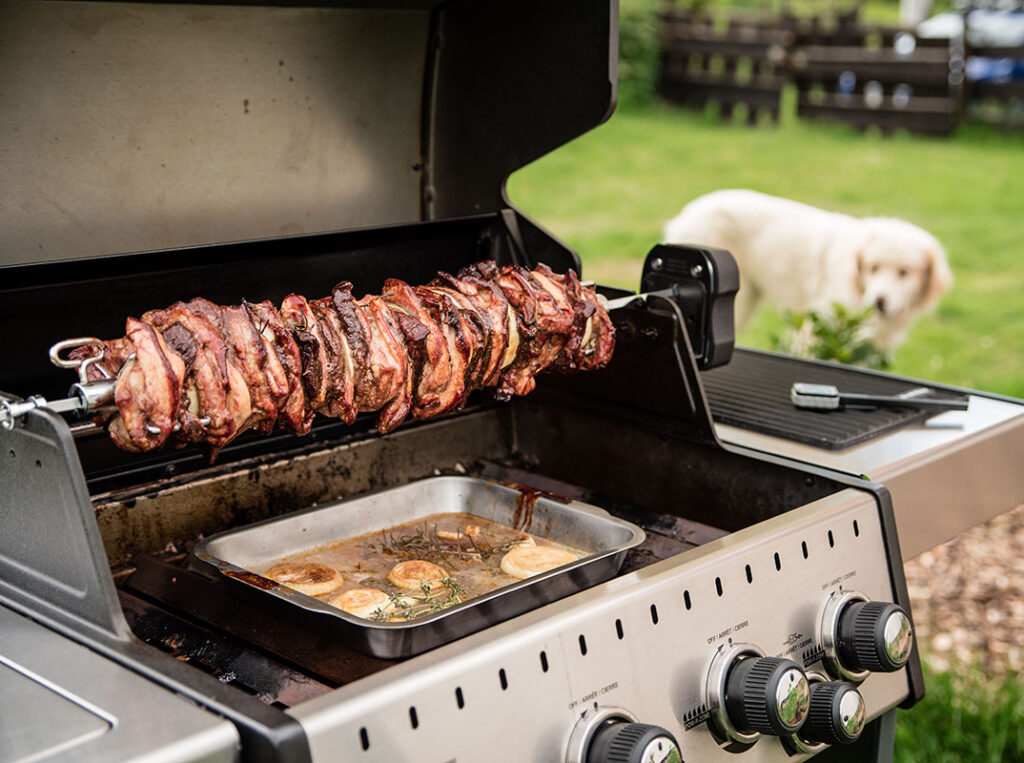
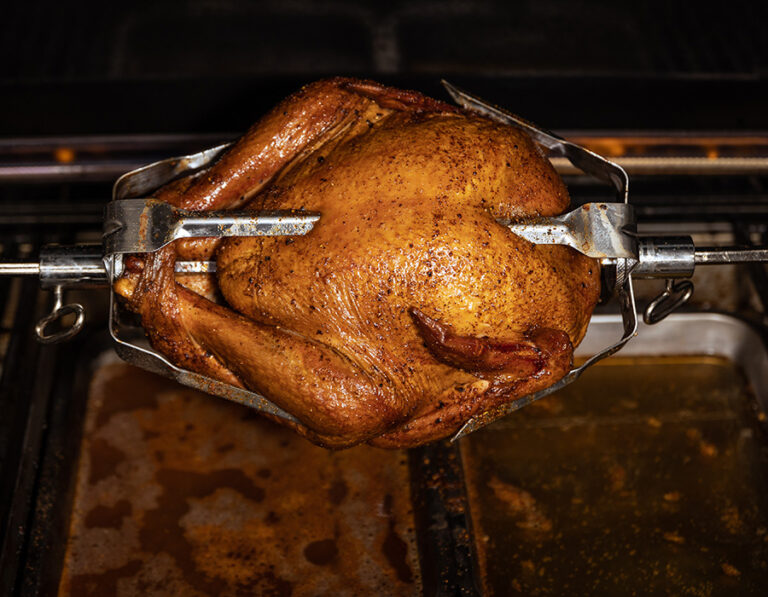
The most common way we use a rotisserie is to cook whole, crispy chickens. The main reason for this is we can better control the flow of heat to cook all sides of the chicken evenly, meaning we don’t end up with the bottom cooked while the top is still raw. It also makes it easier to maintain the moisture content in your chicken, as you can easily add a drip pan below with flavoured liquids and aromatics to infuse with your meat as it cooks.

If your grill comes with a rear rotisserie burner, turn it on to add a golden crisp to the skin of your meat. A rotisserie rod and motor can certainly be used without it, as we will rely on indirect grilling to cook our meat. But the rear burner is especially handy for adding a quick char to the entire surface of your food as it rotates. 
How to Set Up a Rotisserie?

Now that we know why we use a rotisserie let’s look at how we should set one up for use on the grill. Rotisseries come standard on many of our grills, or you can purchase one of our kits to fit onto your existing Broil King gas or pellet grill.

The first step if using the rotisserie for the first time is to assemble the rod and attach the mounting brackets. If your grill came with a rotisserie, these steps would be included in your initial assembly steps. The steps for both gas and pellet are similar, with a few small differences.

Gas Rotisserie Set-Up
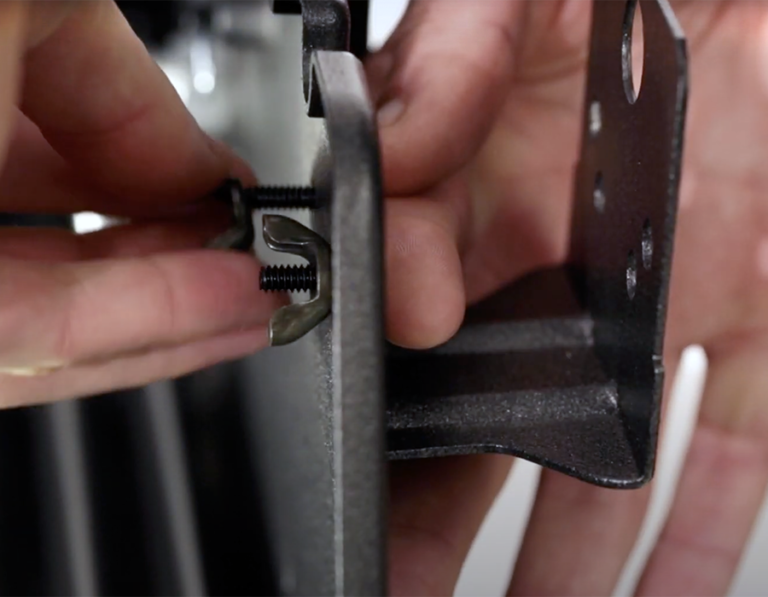
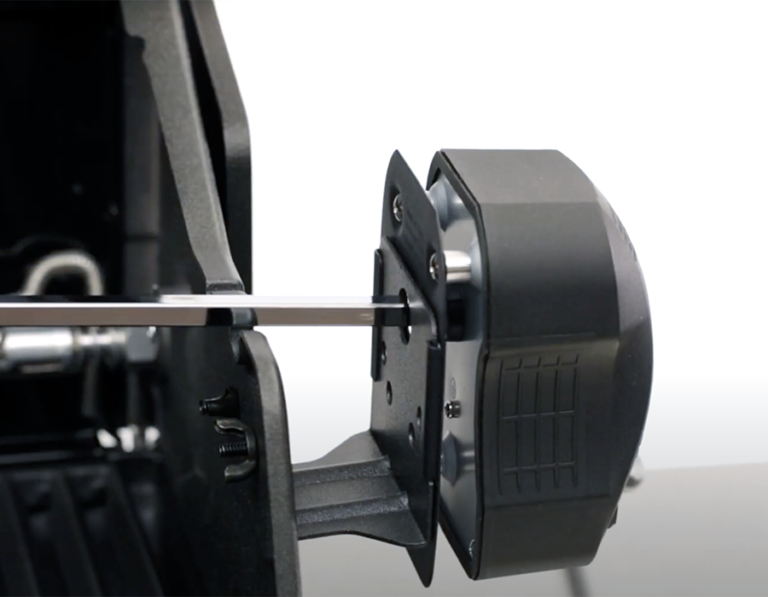
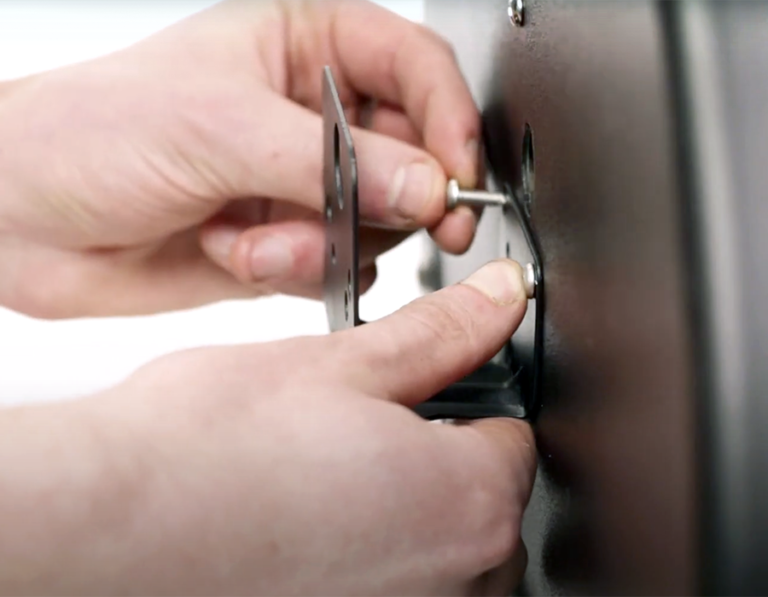
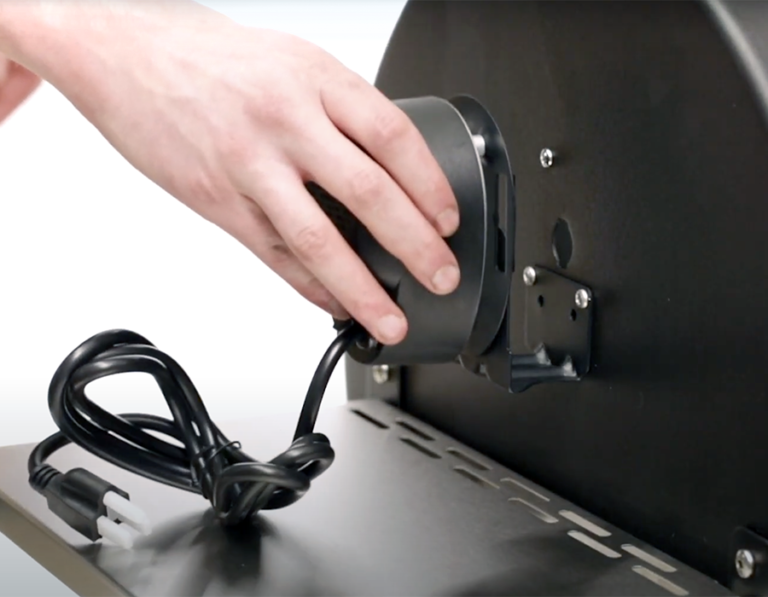
Install the rotisserie motor bracket and slide the motor into place.

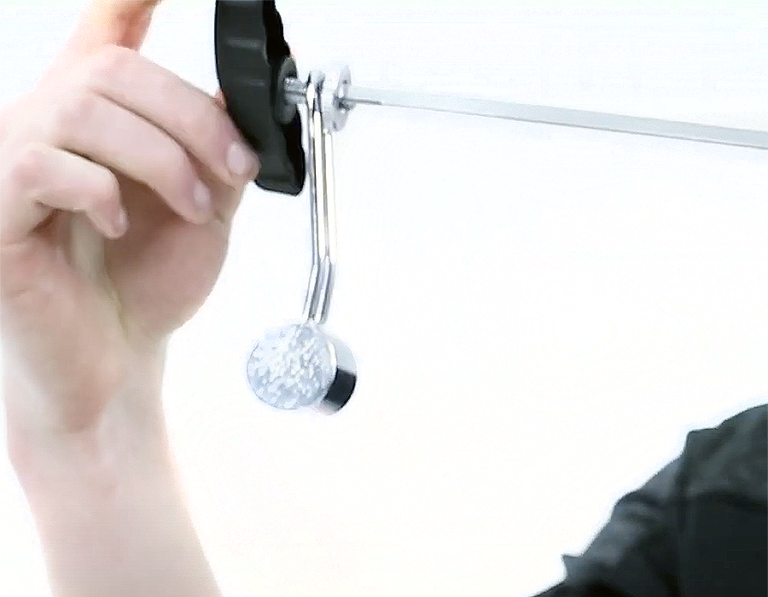
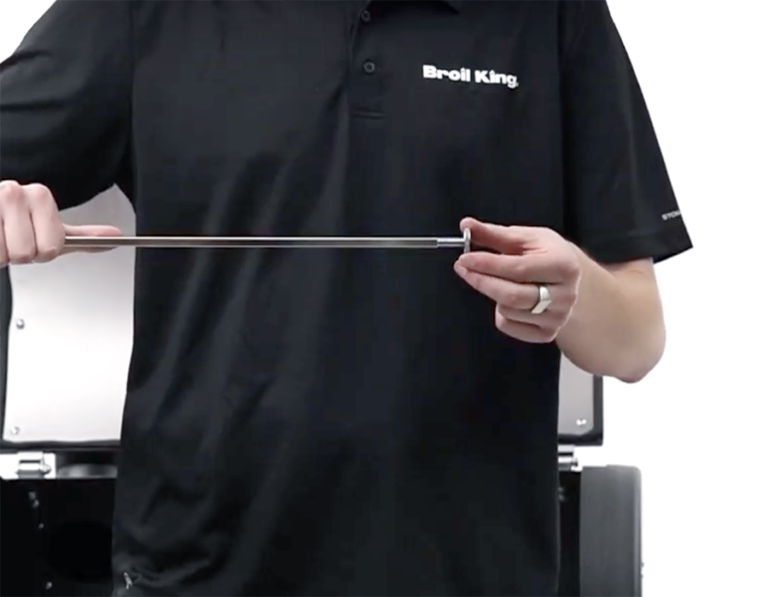
Attach the washer and counterweight onto the threaded end of the rotisserie rod.

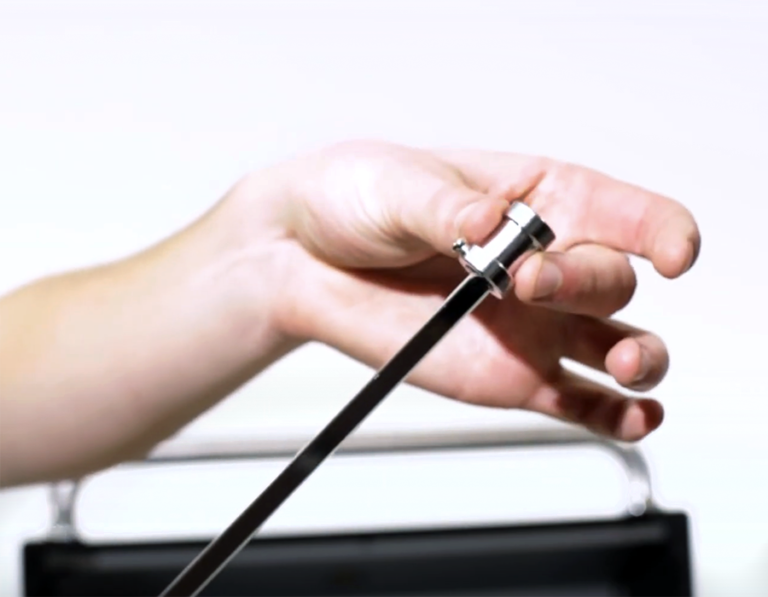
Secure the counterweight with the handle and slide the collar onto the open end of the spit.

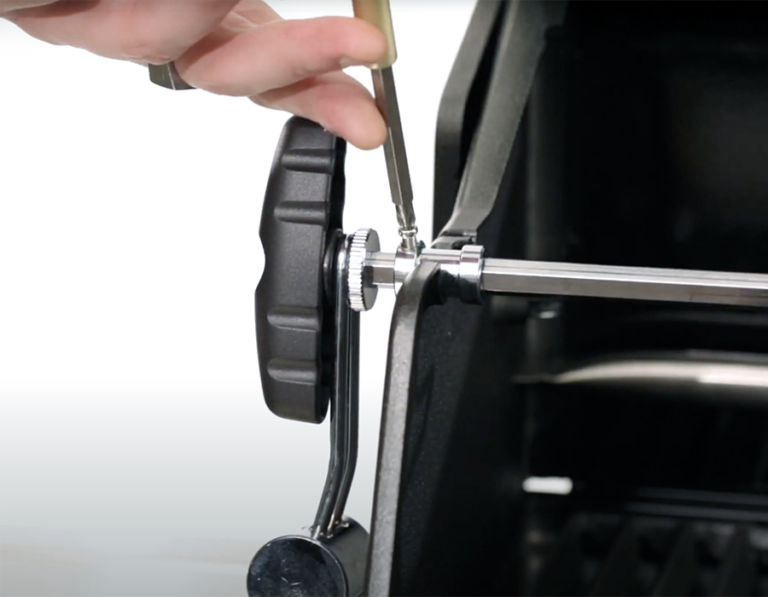
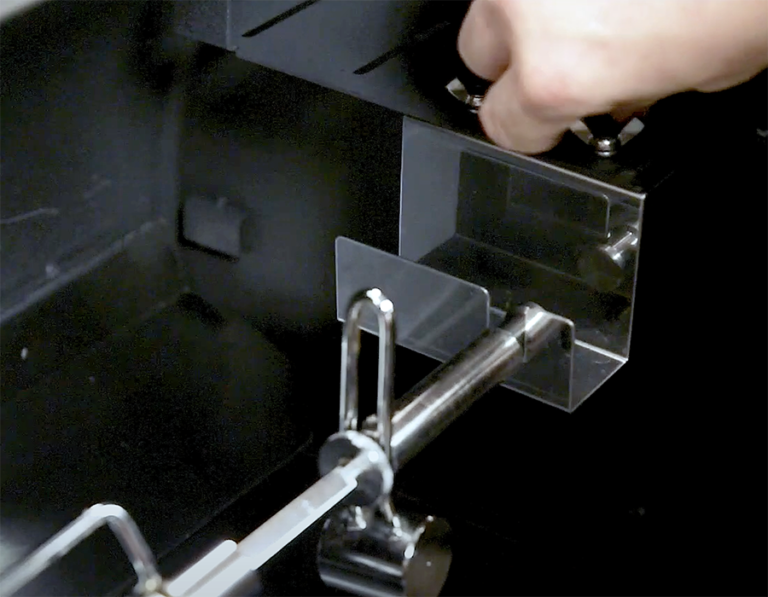
Insert the end of the rod into the motor. Lay the handle end with the collar resting in the groove. Use a screw driver to tighten the set screw. 

Pellet Rotisserie Set-Up

Install the rotisserie motor bracket and slide the motor into place.

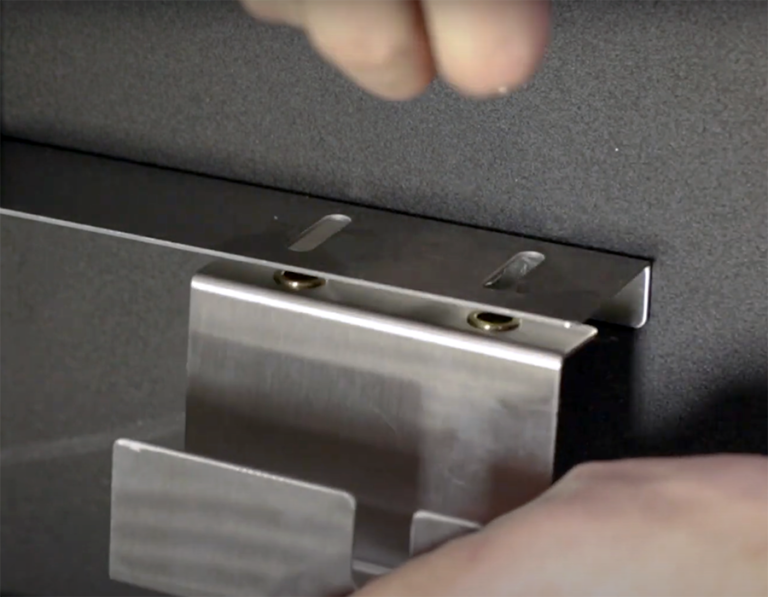
Install the rotisserie rod support inside the cook box. Leave it loose to adjust later. Screw the washer onto the threaded end of the rod.

Add the counterweight, then secure with the rotisserie nut. 

Insert the rod through the cut out and into the motor. Rest the other end in the cut-out in the support and tighten the wing nuts to secure.

Once you have the motor and rod set up for your grill type, you will prepare your meat and secure it to the rod with the forks. The video below will show you how to do this with two whole chickens. While it shows the steps for cooking on a pellet grill, the same technique applies when cooking on a gas grill.

Suggested Recipes

The Perfect Rotisserie Chicken

Move the heat and the meat, if you're not rotisserie grilling your chickens then you're not grilling the perfect crisp, golden, delicious chicken on your pellet grill.

Cornbread-Stuffed Rotisserie Pork Loin

This savoury treat can be the centrepiece of your next meal. Layers of flavour all rolled up into one rotisserie cooked meal. It will be a new family favourite.

Peking-Style Rotisserie Duck

Trade complicated techniques with salt and time to achieve shatteringly crispy skin for this show stopping Peking-style rotisserie duck!

Technique | Rotisserie

The fourth and final grilling method we will explore is rotisserie-style cooking. It’s great for barbecuing whole chickens, roasts, and even wings and can be done with or without a rear rotisserie burner. They help cook food more evenly for a perfectly crisp exterior while maintaining a moist center. We’ll look at why to use a rotisserie, how to set up your rotisserie rod and motor, trussing a chicken, and then recommend a few recipes to try out yourself.

Why Use a Rotisserie?

The most common way we use a rotisserie is to cook whole, crispy chickens. The main reason for this is we can better control the flow of heat to cook all sides of the chicken evenly, meaning we don’t end up with the bottom cooked while the top is still raw. It also makes it easier to maintain the moisture content in your chicken, as you can easily add a drip pan below with flavoured liquids and aromatics to infuse with your meat as it cooks.

If your grill comes with a rear rotisserie burner, turn it on to add a golden crisp to the skin of your meat. A rotisserie rod and motor can certainly be used without it, as we will rely on indirect grilling to cook our meat. But the rear burner is especially handy for adding a quick char to the entire surface of your food as it rotates. 

How to Set Up a Rotisserie?

Now that we know why we use a rotisserie let’s look at how we should set one up for use on the grill. Rotisseries come standard on many of our grills, or you can purchase one of our kits to fit onto your existing Broil King gas or pellet grill.

The first step if using the rotisserie for the first time is to assemble the rod and attach the mounting brackets. If your grill came with a rotisserie, these steps would be included in your initial assembly steps. The steps for both gas and pellet are similar, with a few small differences.

Gas Rotisserie Set-Up
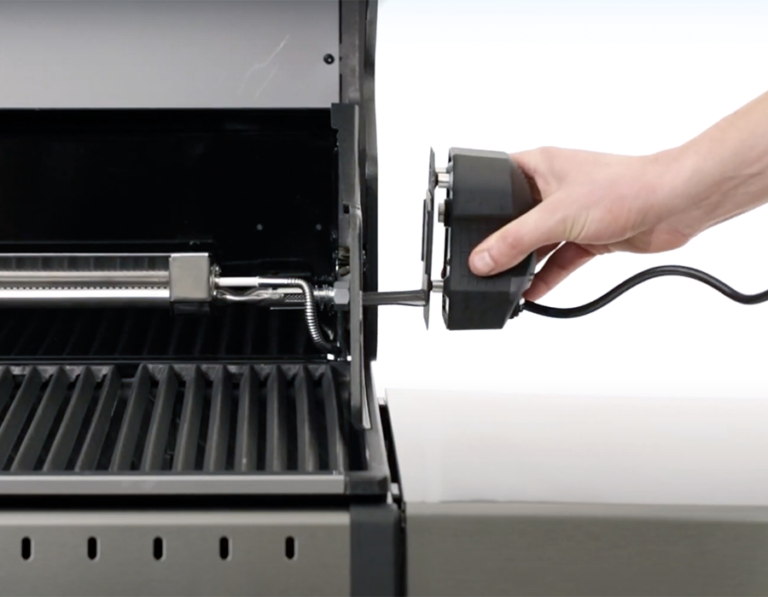
Install the rotisserie motor bracket and slide the motor into place.
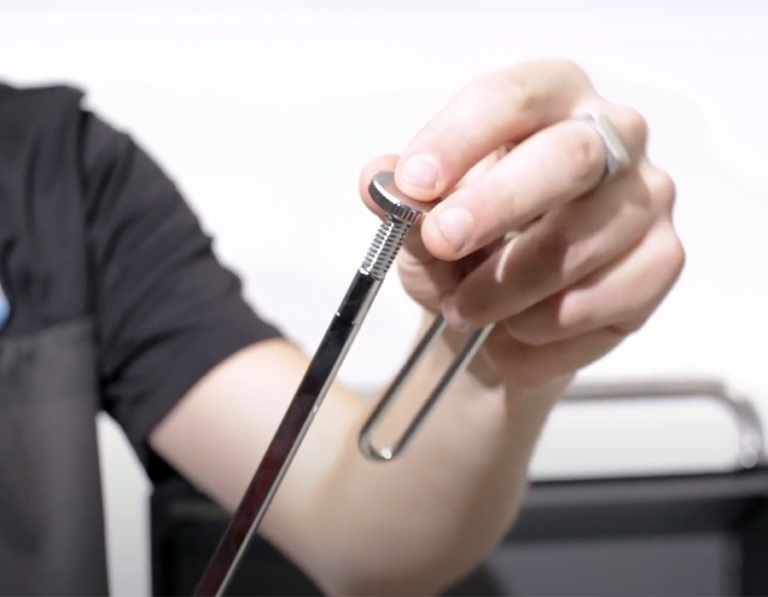
Attach the washer and counterweight onto the threaded end of the rotisserie rod.

Secure the counterweight with the handle and slide the collar onto the open end of the spit.

Insert the end of the rod into the motor. Lay the handle end with the collar resting in the groove. Use a screw driver to tighten the set screw. 

Pellet Rotisserie Set-Up

Install the rotisserie motor bracket and slide the motor into place.
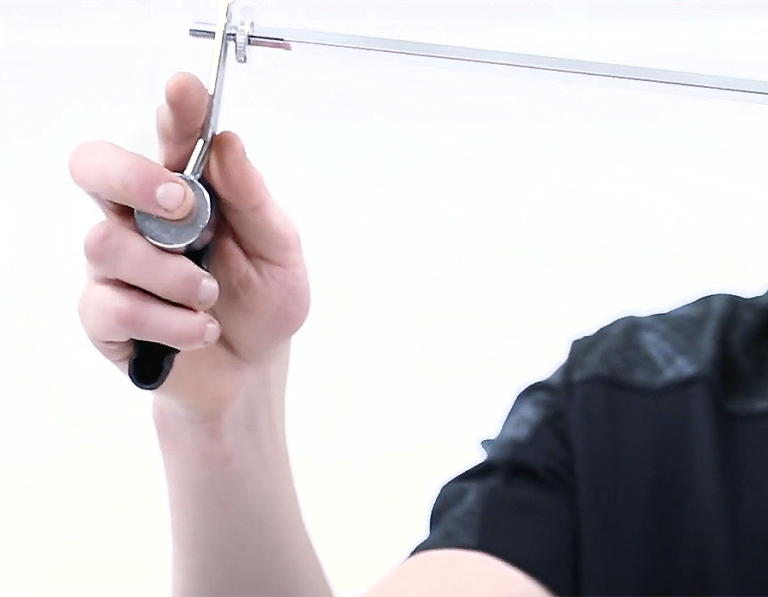
Install the rotisserie rod support inside the cook box. Leave it loose to adjust later. Screw the washer onto the threaded end of the rod.
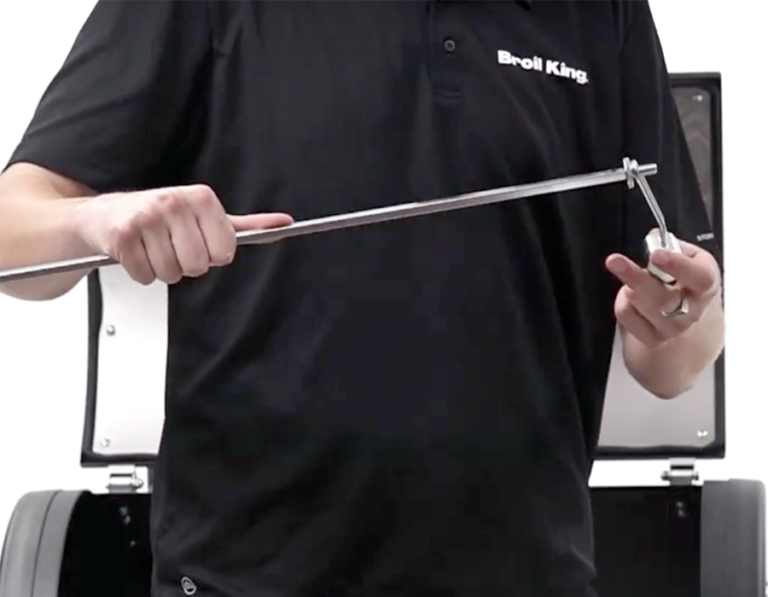
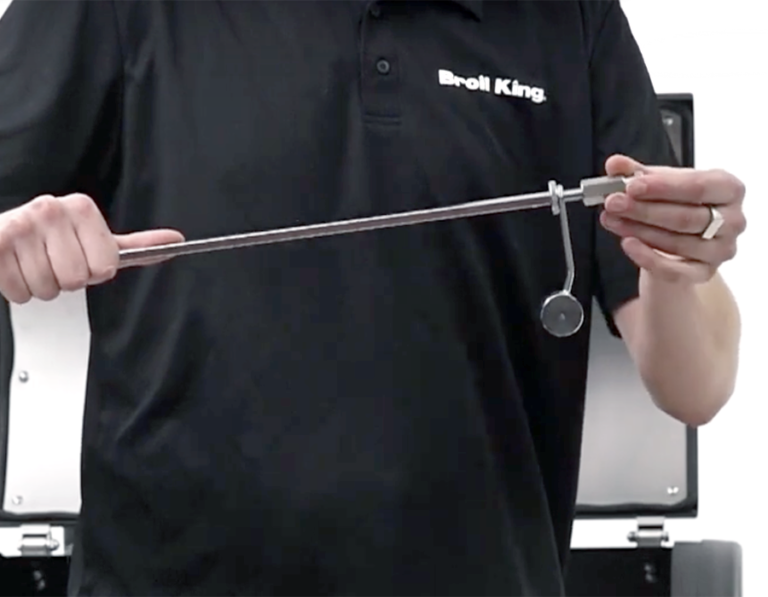
Add the counterweight, then secure with the rotisserie nut. 
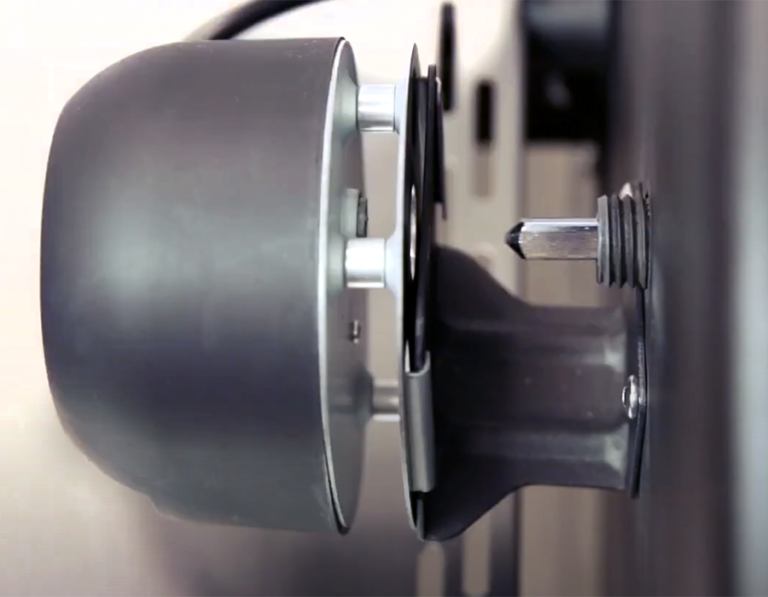
Insert the rod through the cut out and into the motor. Rest the other end in the cut-out in the support and tighten the wing nuts to secure.

Once you have the motor and rod set up for your grill type, you will prepare your meat and secure it to the rod with the forks. The video below will show you how to do this with two whole chickens. While it shows the steps for cooking on a pellet grill, the same technique applies when cooking on a gas grill.

Suggested Recipes

The Perfect Rotisserie Chicken

Move the heat and the meat, if you're not rotisserie grilling your chickens then you're not grilling the perfect crisp, golden, delicious chicken on your pellet grill.

Cornbread-Stuffed Rotisserie Pork Loin

This savoury treat can be the centrepiece of your next meal. Layers of flavour all rolled up into one rotisserie cooked meal. It will be a new family favourite.

Peking-Style Rotisserie Duck

Trade complicated techniques with salt and time to achieve shatteringly crispy skin for this show stopping Peking-style rotisserie duck!