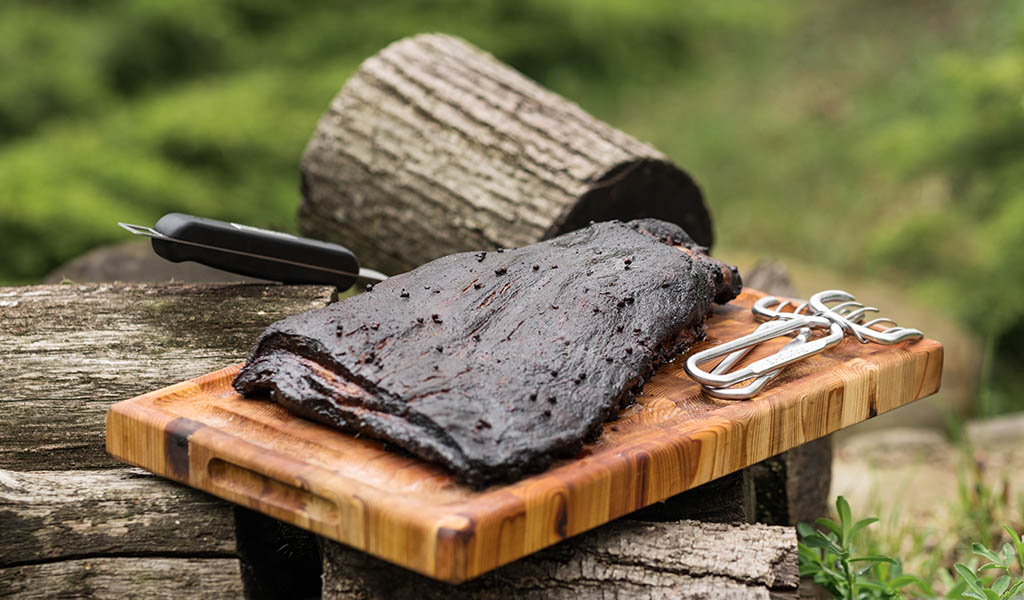
Brisket is a barbecue staple that can intimidate new grillers due to its size and long cooking process. But at Broil King, we’re all about showing you how easy it is to create mouth-watering meals, and a perfect brisket is no exception. While brisket does take more time and care than your standard grilled items like burgers and steaks, it’s not exceptionally difficult to cook. It simply requires patience and attention to ensure your meat stays moist throughout the cooking process. Regardless of the grill you’re using – charcoal, pellet or gas – you can get a beautiful brisket, and below, we’ll show you how. We’ll also highlight a few beneficial accessories throughout the cooking process.
Brisket 101
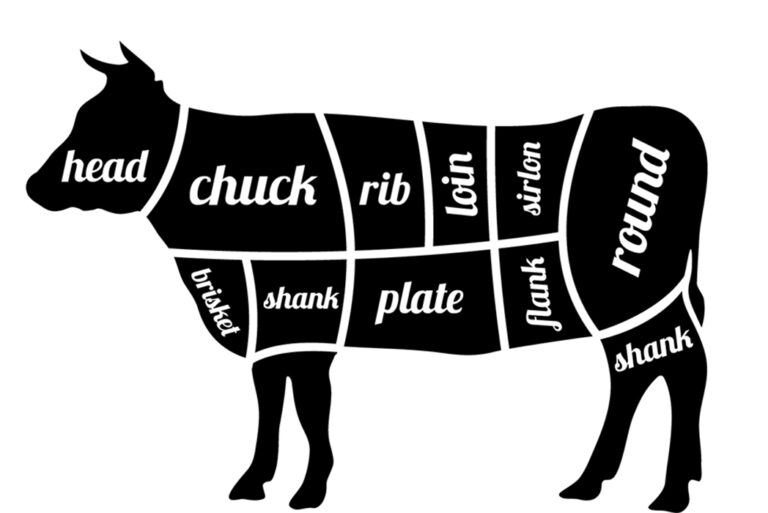
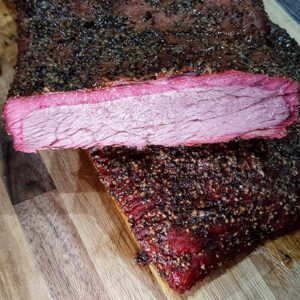
First, let’s go over what brisket is, specifically, what part of the animal it comes from. Beef brisket comes from the front of the cow, below the neck. It’s essentially a cow’s breast meat and is a highly-used muscle group with a lot of connective tissue. This means that the meat from this portion of the cow is naturally tough, unlike cuts of meat that come from the back of the cow, such as the tenderloin. Through the cooking process, the meat is tenderized by correctly rendering the fats and juices.
The brisket is divided into two cuts: the point and the flat. The point has the highest fat content (also called the deckle), while the flat (also called the first cut) has been trimmed to remove the deckle to lay flat.
The brisket wasn’t always a sought-after cut and was usually delegated for use in stews because it is so tough on its own. However, by cooking the brisket using indirect heat over an extended period of time, the meat becomes incredibly tender.
How to Cook a Brisket
Set-up The Grill
Next, let’s go over the standard cooking process for the perfect brisket. No matter how you choose to cook it, it needs to be done at a low temperature over several hours. If you try to rush it, the connective tissues that make the meat so tough will not render, and you’ll be left with something resembling shoe leather. It’s also important to baste the meat throughout the cook and inject extra juices into the meat to help maintain moisture content.
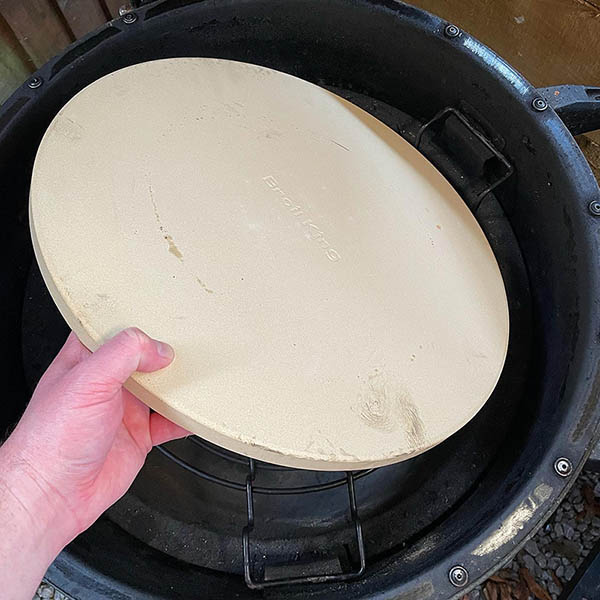
Start by getting your grill set up. Ideally, you want to maintain a temp around 225˚F (107˚C) and cook your brisket using indirect heat. For gas, this means turning on only one side of the grill and keeping your meat above the unlit burners. The same goes for charcoal; keep your lit coals to one side or use a dampening plate in the keg to reduce the intensity of the heat. And with your pellet grill, use the smoke pre-set and let it get to temp.
Season Your Meat
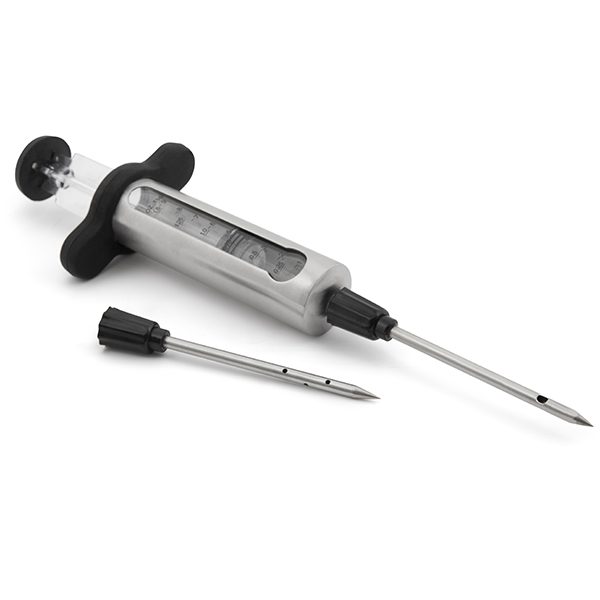
While your grill is warming up, prepare your meat for the grill. You don’t want to trim a brisket too much since the fat will help tenderize and give flavour. A well-smoked brisket has a lot of flavour on its own, so you should keep your seasoning pretty simple. Our recipe for The Perfect Brisket uses our Perfect Steak Spice Rub, but you can create a similar blend of salt, pepper, garlic and onion powder if desired. We also advise that you inject some flavoured liquid into the brisket before putting it on. Warm-up a cup of beef stock and fill your marinade injector. Ensure you hit several spots across the whole brisket with the beef stock.
If your grill is at temp, you can place your brisket directly on the grids, with the fat side down. Close the lid and let it cook for approximately 6-7 hours, or until it reaches an internal temperature of 160°F (71°C). You want to mop or spray down the meat with an oil mister throughout the cooking process. We suggest a 50/50 blend of whiskey and honey, which should be done after each hour. You can also inject more beef stock into the meat a few more times, but be sure not to inject it within the final hour of cooking.
Wrap Your Meat
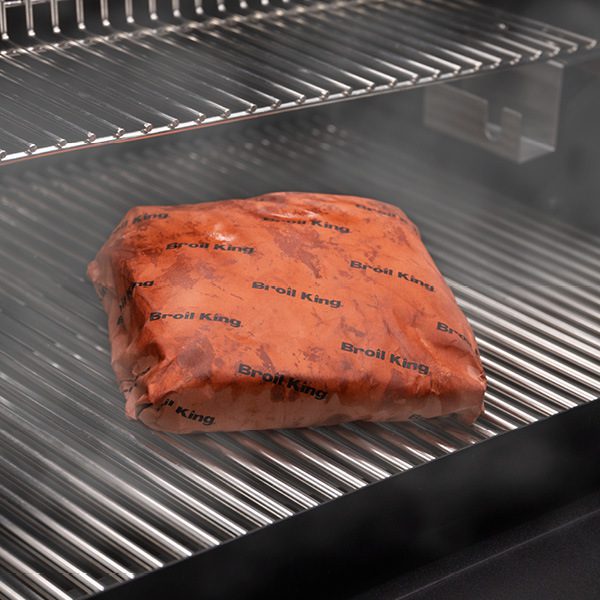
Once you’ve hit the target temp, it’s time to wrap the brisket. The new Broil King Butcher Paper is perfect for this task. Ensure you tuck both ends of the paper under the meat, so it is fully enclosed. If you do not have butcher paper, you can use tin foil. However, paper is preferred as it is more breathable, meaning the bark on your brisket won’t get soggy from trapped steam. Wrapping the brisket helps to lock in moisture for the final cooking stage, ensuring that the meat doesn’t dry out.
Place the wrapped meat in a pan, and optionally you can add more beef stock or some ginger ale to the pan. Place the pan back on the grill and let the meat continue to cook until it hits roughly 195°F (90.5°C) internally. At this point, you can pull the meat from the grill for the final time.
Let it Rest
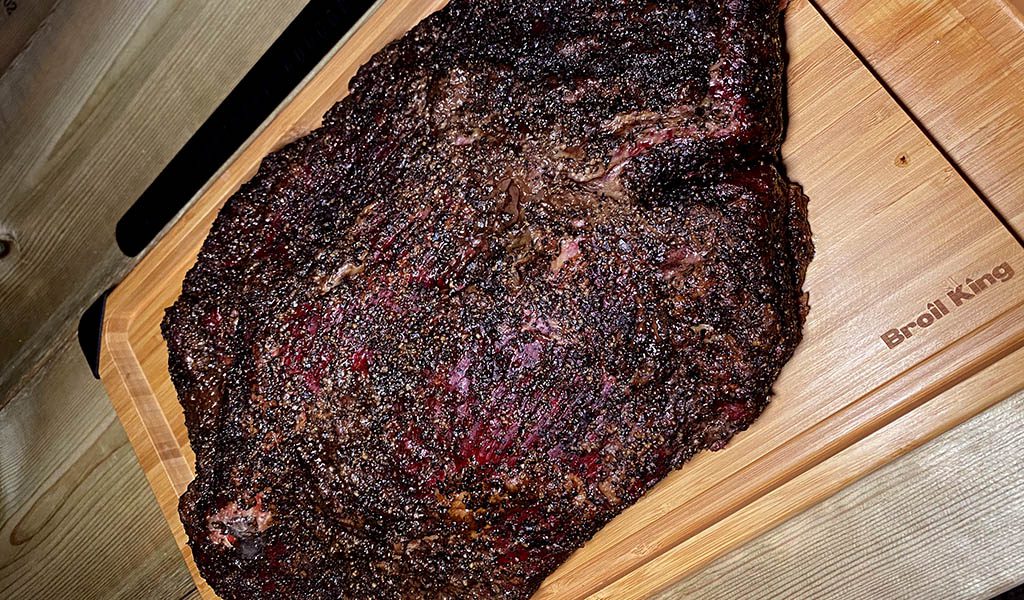
Now, as tempting as it may be to slice into that brisket straight off the grill, there’s one final step to carry out: let the meat rest. Resting does two things; it allows the juices to redistribute among the meat evenly, and it also allows the meat to finish cooking in its own steam to reach the final desired temp of 202˚F (95˚C). If you try to cut the meat before resting, the juices will leak all over your cutting board, leaving you with tough, dry meat. Further, the temperature of the meat continues to climb roughly 5-10 degrees after it is removed from the grill. You want it to complete this process for optimal tenderness.
It’s important to keep in mind that a raw brisket’s weight is approximately three-quarters water, and through the cooking process, this moisture is pushed to the surface.
So, if you try to cut and eat a brisket before it rests, there will be no moisture in the center of the meat, and in particular, the flat (which has less fat content) will be chewy and inedible. Resting allows the juices (which is actual collagen) to firm up, meaning they won’t leak out as you slice.
We recommend letting brisket rest for a minimum of 1 hour and a maximum of 2 hours. After two hours, the meat will begin to cool below a consumable temperature, and you’ll have to reheat the brisket (which can lead to the meat drying out). Carefully unwrap your brisket, and you’re ready to start slicing.
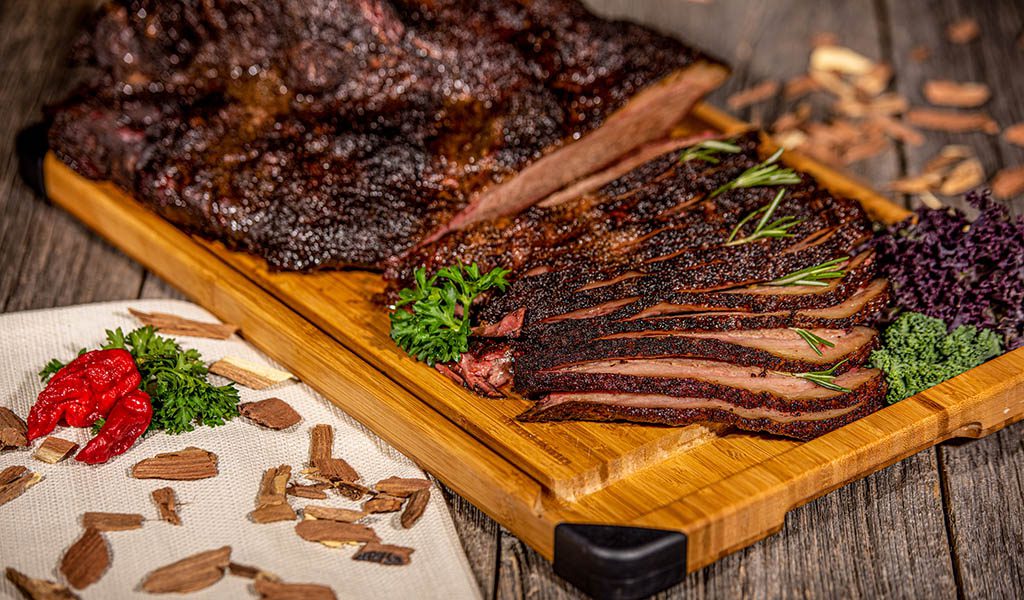
Slicing a Brisket
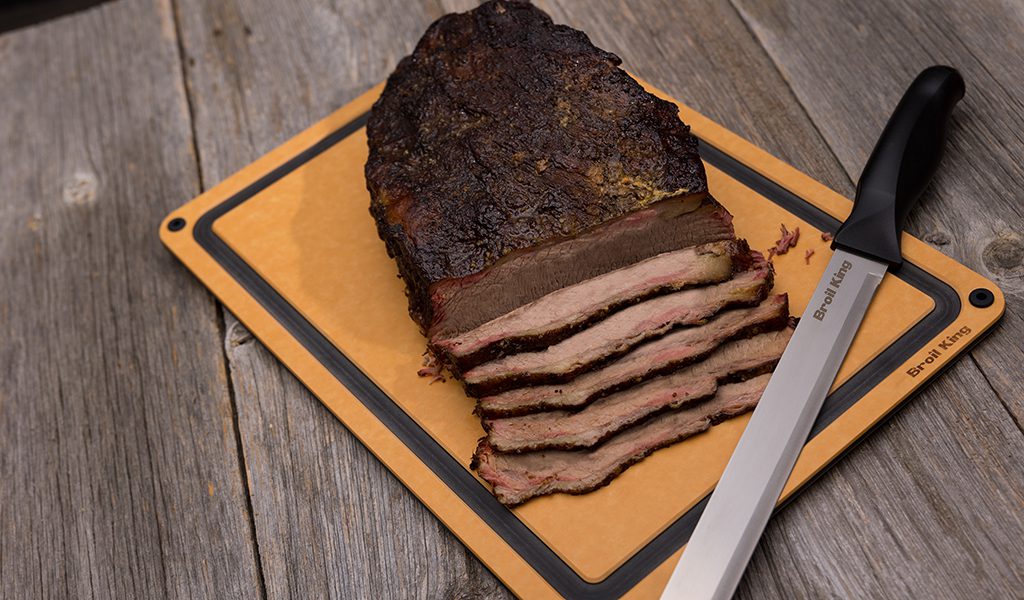
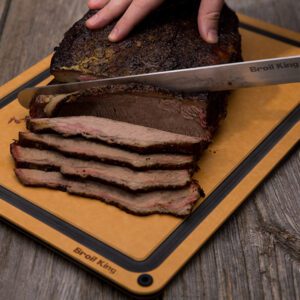
How you cut your brisket is also very important, as it also impacts the chewiness of your brisket. You want to cut against the grain – this is the alignment of the muscle fibres. If you don’t cut against the grain, it leaves these fibres intact and makes the meat tougher to chew.
The grain of any meat is the alignment of muscle fibres. Cutting against the grain helps to tenderize each piece you cut. If you don’t cut against the grain, the muscle fibres will remain uncut, and your slices will be very difficult to chew.
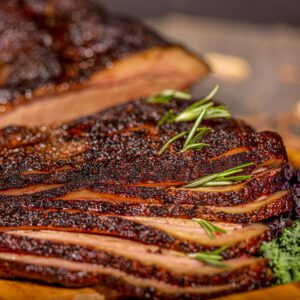
Start with separating the point and the flat end, cutting at a 90-degree angle. This will help you see the direction of the grain. As you begin slicing, notice if the direction changes and adjust the angle of your cut accordingly. You don’t want to cut straight down, nor do you want to saw roughly back and forth like a piece of wood. If the meat is cooked correctly, your blade should slice through easily as you gently move the blade back and forth, like a soft loaf of bread. Slices should be approximately a quarter-inch thick, but this is more preference than mandatory sizing.
Accessories
We’ve mentioned a few accessories already that are helpful throughout the cooking process, but here’s a short checklist of the essential tools you’ll need:
- Marinade Injector (to add moisture deep into your brisket)
- Perfect Steak Spice Rub (for seasoning)
- Oil Mister (for seasoning and moisture)
- Butcher Paper (to wrap your brisket for the final portion of the cook)
- Roasting Pan (to collect juices during the final portion of the cook)
- Carving Knife (to slice your brisket)
- Cutting Board (to slice and serve your brisket)
- Thermometer (to monitor the internal temperature of your meat while it cooks)
- Smoker box (to add smoky flavours if you’re cooking on a gas grill, learn more about using a smoker box in this blog)
Remember, you can find these accessories in-store at your local Broil King dealer or online. Click the Find a Dealer tab along the top menu for assistance.
