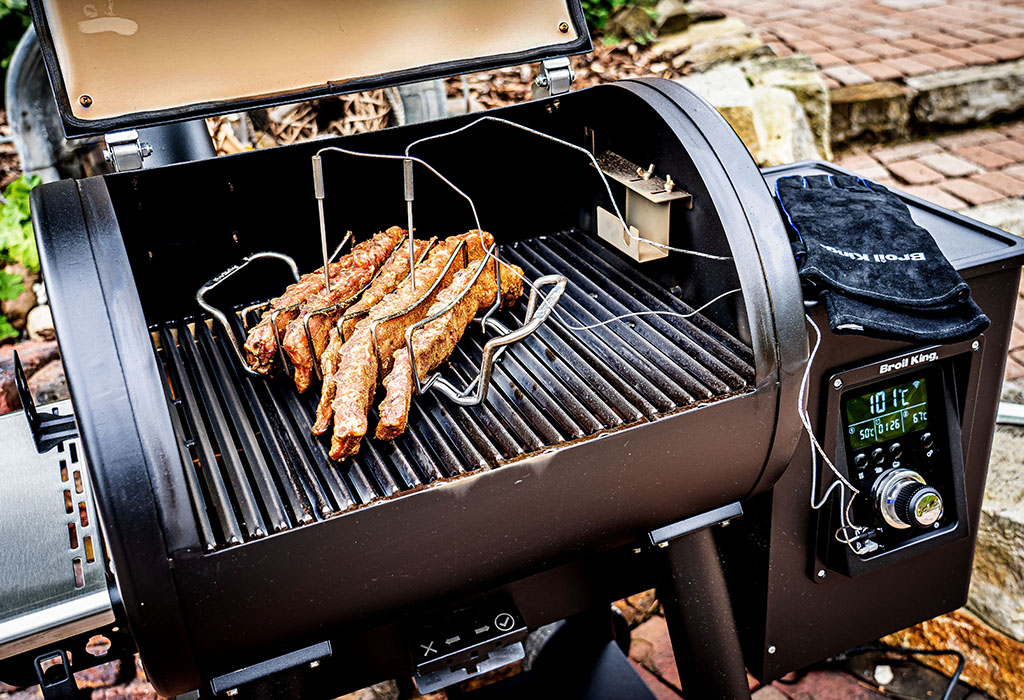
We’ve previously discussed the perfect technique for cooking steak, brisket, and rotisserie chicken on your Broil King grill. But we cannot forget the quintessential barbecue staple – tender baby back ribs! Smoked, steamed, spiced or sauced; there are several ways to prepare ribs, and you can do them all regardless of whether you’re cooking for charcoal, pellets or gas. Follow the steps below to get the perfect bbq ribs.
Selecting Your Meat
First, you need to be aware of the different cuts of pork ribs when selecting your meat from the butcher. The two most popular cuts are the pork back ribs (commonly called baby back ribs) and the pork spare ribs.
As the name suggests, the back ribs come from high on the back of the pig, where the rib cage meets the spine. They contain a lot of connective tissue, so they need low and slow heat to tenderize. They’re lean and tender when cooked properly and slightly curved as they wrap around the loin.
The spare ribs come from the lower section of the rib cage, extending along the stomach to the sternum. They have more meat and cartilage than your back ribs and lay flat. This section of the rib tends to be fattier, given that it comes from the belly. It also tends to be tougher meat since it is surrounded by highly-used muscles involved in breathing. Like the back ribs, they are best prepared with low and slow cooking.
Of course, other variations, such as St. Louis-style or “country-style,” are less common. There are also beef back ribs, which are less meaty and flavourful than their pork counterpart, and beef short ribs, which are most commonly braised. For the rest of this blog, we will focus on pork back and spare ribs, which we most commonly associate with classic barbecued ribs. If you want to learn more about cuts of meat, you can check out our blog post.
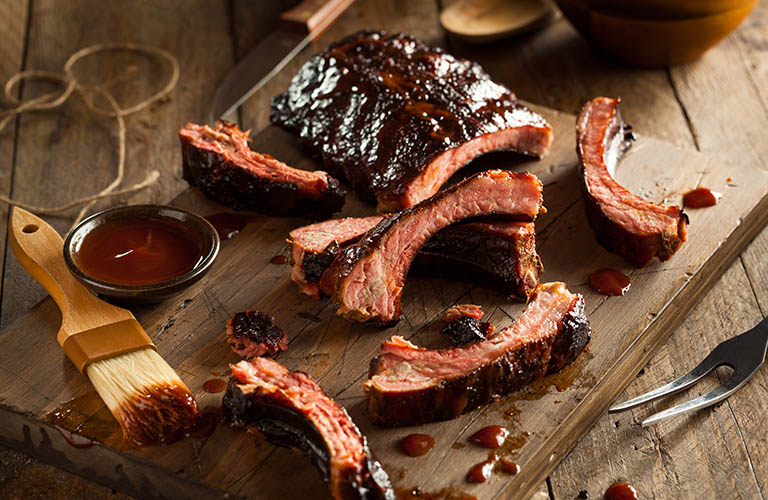
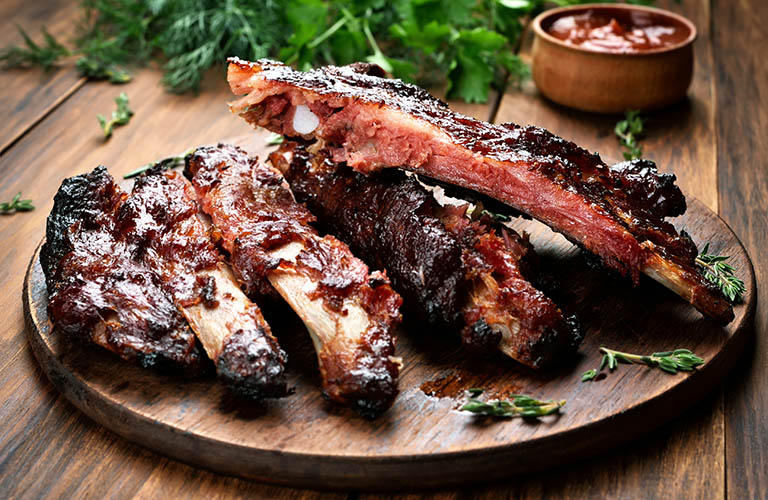
Prepping Your Meat
Once you’ve chosen your cut of ribs, we can move on to the actual prep. That starts with removing the silver skin membrane along the back of the ribs and soaking them in a mixture of vinegar and water.
The membrane is connective tissue along the underside of the ribs, and it will not soften no matter how long you cook your ribs. You will have tough, chewy ribs if you leave the membrane intact. It also creates a barrier that prevents your rubs and sauces from penetrating your ribs, resulting in bland meat.
To remove the membrane, start in any corner, make a slight incision with a paring knife, and gently pull at the membrane. If you have a good grip, it should come away fairly easily and in one piece. You can use a paper towel to help with this process.
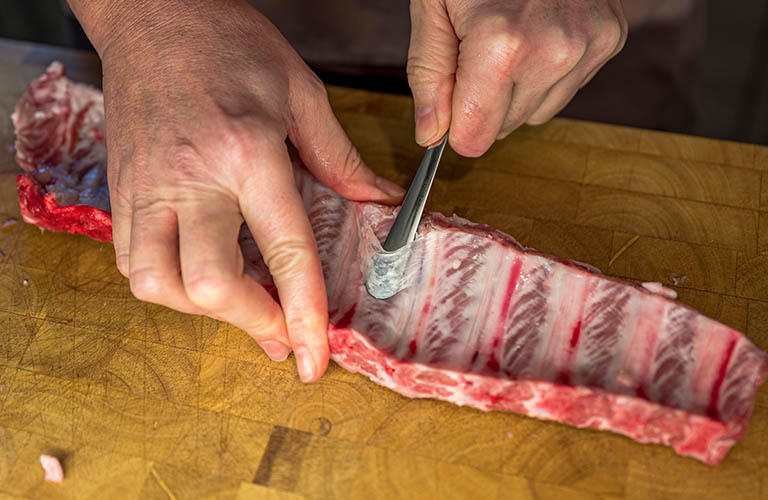
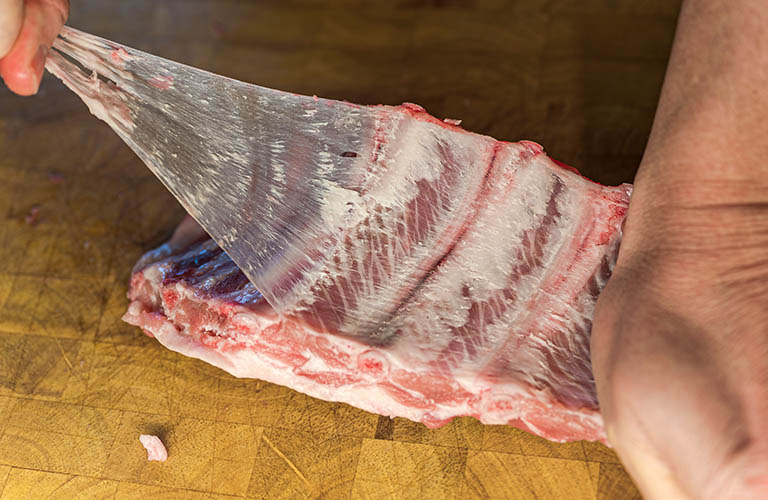
With the membrane removed, you want to soak your ribs in a mixture of vinegar and water. Some prefer to use apple cider vinegar for this, but white vinegar can also do the trick. The acidity of the vinegar breakdowns fat and connective tissue so that it renders better on the grill. This gives meat that melt-in-your-mouth feel as opposed to a rubbery chew toy.
You want the ribs fully submerged in the liquid and left to soak for about an hour. If you’re using apple cider vinegar, you can skip diluting with water; thus, your soak time can also be reduced to about 20-30 minutes. Apple cider vinegar is slightly sweet and tangy and has a flavour that complements most rubs and sauces. White vinegar can be overpowering and thus works best if diluted with water. You can overly tenderize the ribs if left too long in the vinegar, leading to dry ribs. So try to avoid leaving them for too long in the bath unless you’re working with an exceptionally tough cut of meat. Once they’ve soaked, remove the ribs and pat dry with a paper towel.
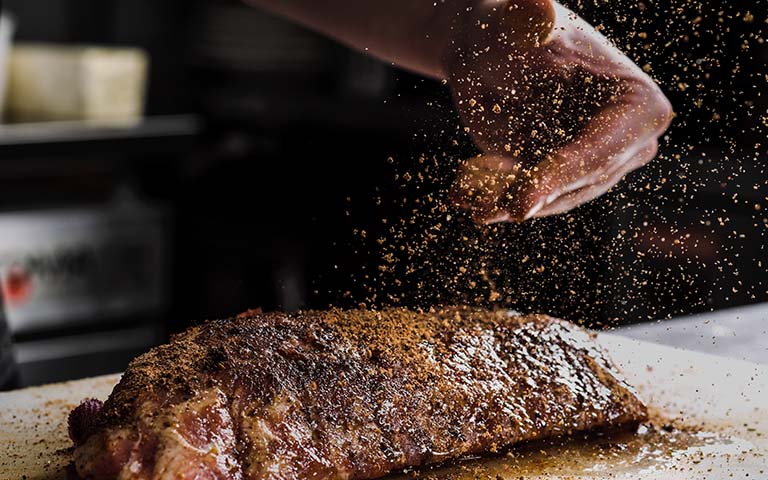
Once the ribs are relatively dry, you can add your seasoning. There are so many rubs and spice mixtures to choose from; it is really dealer’s choice. Our KC BBQ Rub is an excellent sweet and savoury blend for traditional Kansas City flavour.
Now we get to the fun part of actually grilling your ribs. Again, there are many ways to do this, and some people swear by smoking with charcoal or pellets versus straight grilling with gas. But there are ways of getting some smokiness in your ribs, even when using a gas grill. Below, we’ll cover the basics for gas, pellet, and charcoal, as well as some accessories that you may find handy.
Perfect BBQ Ribs with Charcoal
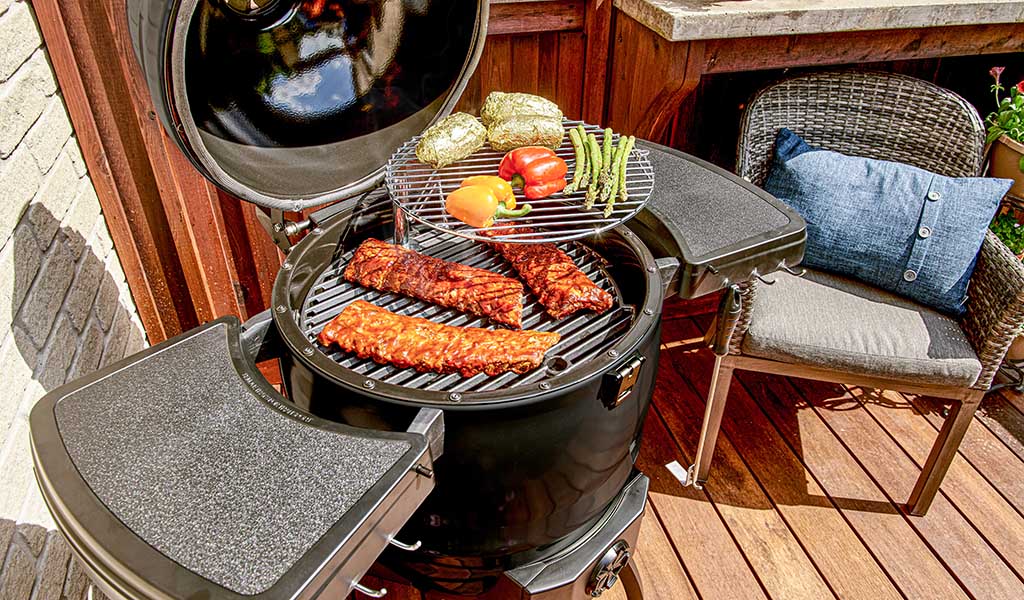
Let’s start with charcoal. For the seasoned smoke master, this is likely the preferred method. The good news is that you don’t need to be an expert to cook with charcoal; it just takes some patience.
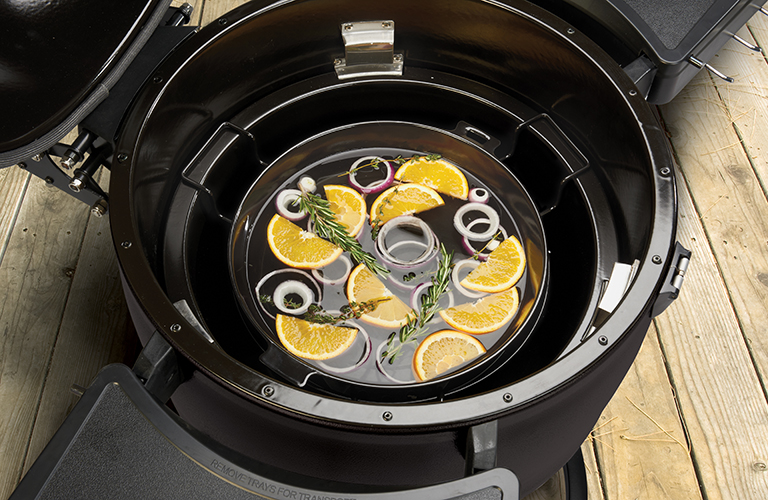
You’ll want to ignite your coals in your charcoal smoker. If using the Keg, you’ll also want to use the Diffuser Kit to help disperse the heat so you don’t scorch the underside of your ribs. You can add some water and aromatics or apple juice to the pan to help maintain moisture while also adding some flavour. You want to keep the grill temperature around 225˚F, which you can do by adjusting the top and bottom air baffles. For the Offset, light your charcoal in the smaller chamber and then use the large main chamber for grilling.
Once you’ve reached a consistent temperature, place the ribs on the grill and close the lid. We highly recommend using the Side Table Thermometer or a wireless probe to monitor your ribs without opening the lid and losing smoke and heat. Make sure if you’re probing that you don’t hit bone as this heats up slower than your meat, and you could overcook your ribs. Following this method, you should target about 5-7 hours of cook time, again depending on the cut of meat and the size of the racks. Your finished ribs should temp between 195˚F and 203˚F. Some prefer to wrap their ribs in foil to help speed up the total cook time, which is often called the 3-2-1 method. The foil helps trap heat and moisture within the meat, allowing the internal temperature to climb faster and keep the meat from drying out. However, if you’re using the Diffuser Kit with water or juice, this, too, will help maintain the moisture in the meat as it cooks.
If you’re saucing your ribs, you’ll want to crank up the heat for 15-20 minutes to caramelize the sauce. On the Keg, remove the diffuser plate so that your ribs are exposed to direct heat and open up your dampers. For the Offset, you can simply move the ribs to the smaller chamber over the lit coals. Sauce the undersides first, then flip over and sauce the tops. Leave the ribs on direct heat for the required time, then remove and serve.
From the Pellet
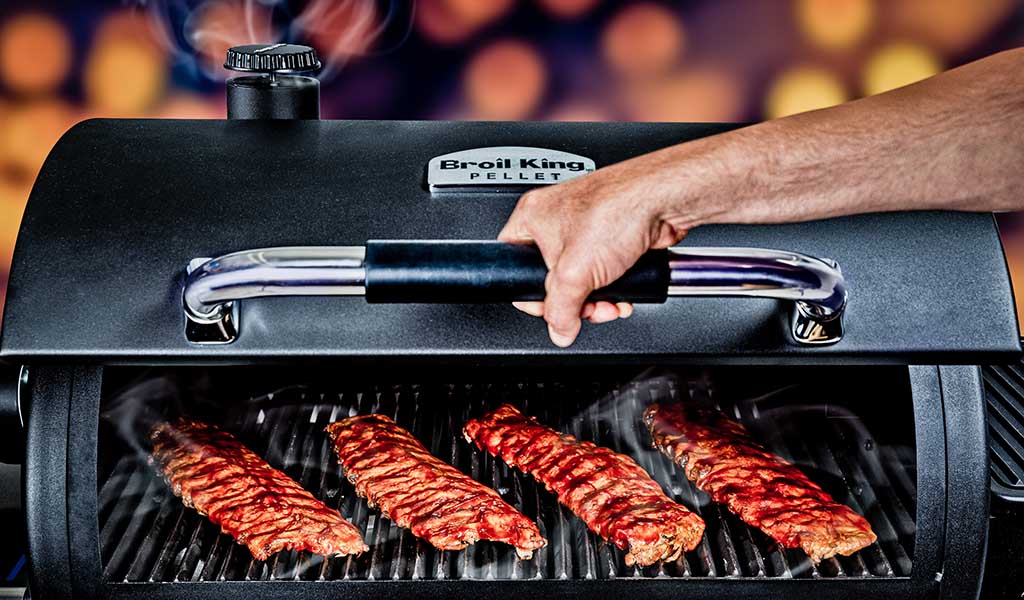
Next up is the pellet. The benefit of a pellet grill is that you can easily get that desired smoky flavour without the trouble of maintaining a consistent temperature like with charcoal. Our pellet grills do all the work for you, living up to the set-it and forget-it branding. To prepare your grill, simply hit the smoke pre-set button and let the grill climb and stabilize at 225˚F. Add your ribs and shut the lid. You can use the included temp probes with your pellet grill to monitor the temperature of your meat.
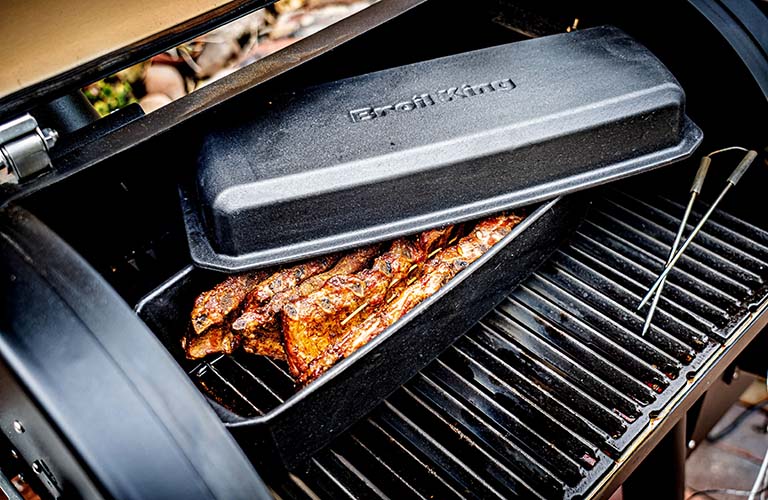
The steps are much the same as with cooking with charcoal. You want your ribs to cook slowly for several hours, then crank up the heat and sauce. If you’re in a hurry, use the Cast Iron Rib Roaster to speed up the cooking process to about 3 hours. Start by smoking your ribs on the pellet for the first hour, then prepare your rib roaster with the metal rack and some beer or apple juice. Ensure the liquid doesn’t completely submerge the metal rack; otherwise, you’ll end up boiling the bottoms of your ribs. After an hour, take the ribs off the pellet, place them inside the roaster, and add the lid. Crank up the temperature of your grill to 375˚F and add the roaster to the pellet grill. Roast for 2 hours, then remove from the grill. Crank the heat to 450˚F and place the ribs directly on the grill. Sauce both sides and leave for 10-15 minutes, then remove and serve.
Cooking with Gas
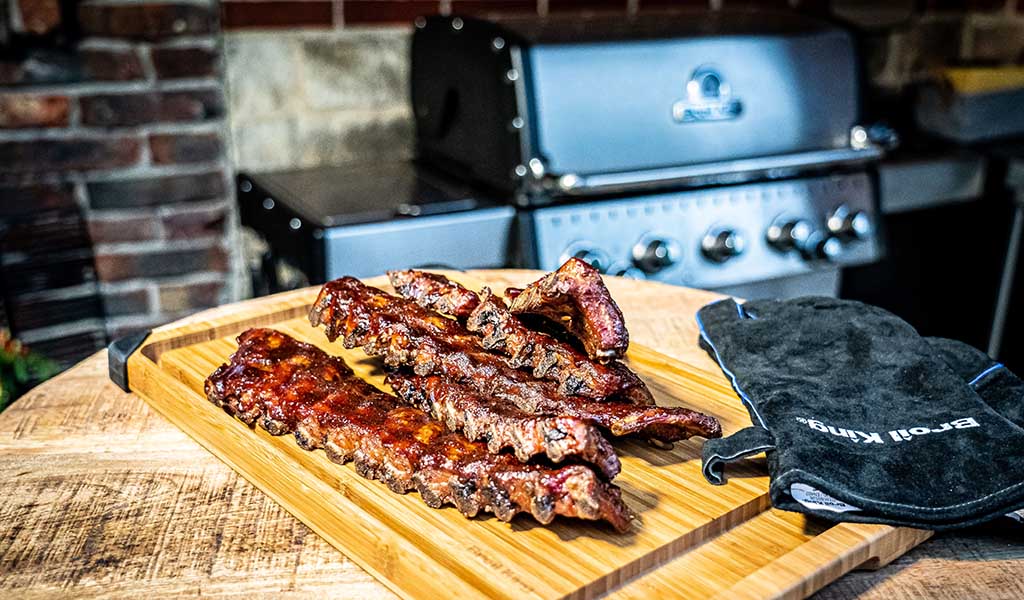
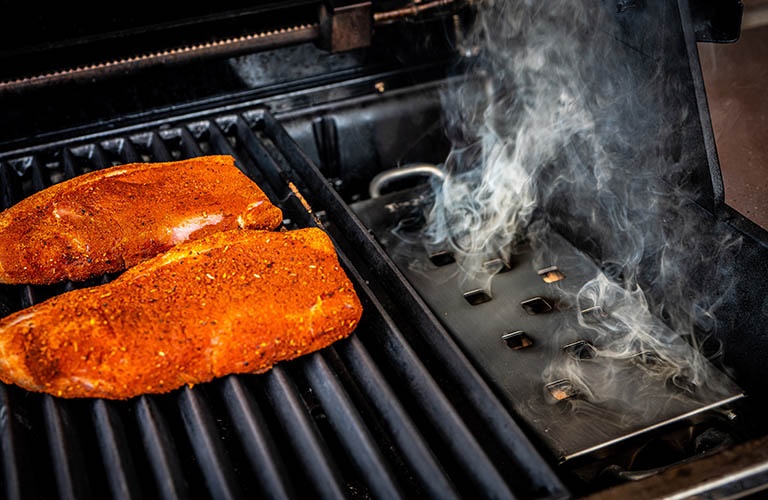
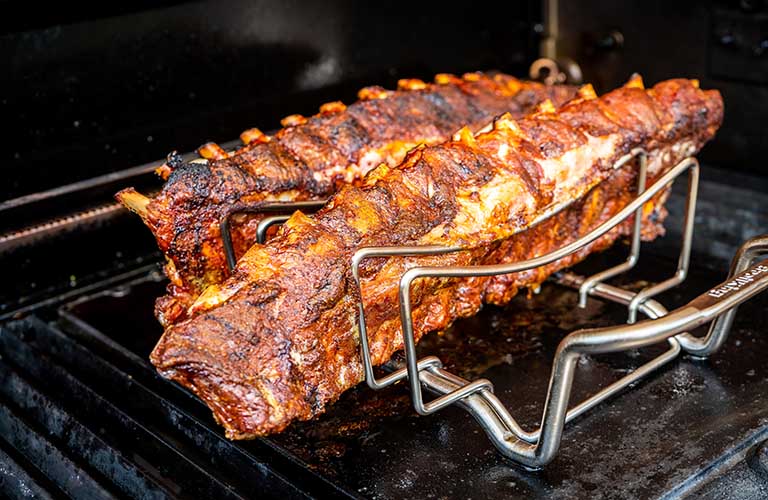
Finally, we get to smoking with gas. This is where you’ll want to pull out your smoker box and add either wood chips or wood pellets to achieve that smoke. Start by lighting a burner on either the left or right side, remove a cooking grate and place your smoker box over the lit burner. Once you’ve got smoke, turn down the burner to med-low and let the cook box reach 225˚F. Add your ribs to the opposite side of the grill from your lit burner and shut the lid. If you’re cooking multiple racks on a smaller gas grill, the Rib Rack and Roast Support can cook up to seven racks of ribs in the space of two.
You can follow a similar method as we laid out with the pellet grill. Cook for an hour with the smoker box, then place the ribs in the roaster to finish them off. With this method, place the roaster in the middle of the grill and then light the two burners on either side of the roaster on medium heat. After two hours, pull them out of the roaster and place them directly on the grill over the burners on medium and sauce. After 15 minutes, they should be ready to serve.
Overall, there are numerous ways to achieve the same tender ribs you love at your favourite smokehouse; they just take time. There are a few tricks to speed the process up, such as with foil or the Cast Iron Rib Roaster. But regardless, they aren’t something you decide to cook for dinner at the last minute. Set aside ample time to tenderize, season and cook, and you won’t be disappointed.
