Tips and Tricks | Spring Cleaning

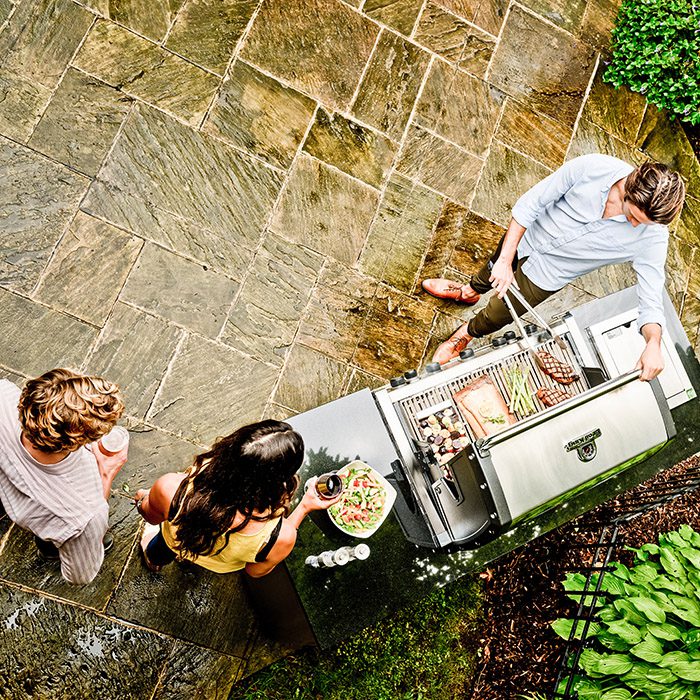
Warmer weather has finally arrived, which means we’ll be elbow-deep in Spring, cleaning chores around the house. One item that can’t be overlooked is a thorough cleaning and seasoning of the grill to get it ready for long summer cooks. Whether you’ve kept your grill stored away for the winter months or kept it firing in the cold, you’ll want to follow these helpful steps for the new grilling season.
Before Starting
First things first, decide on a good location to clean your grill. Grilling is a greasy affair, and if your grill hasn’t been cleaned in a while, it will create quite a mess. Grease can stain stone and wood, as can certain degreasers and cleaners. So, you want to avoid cleaning your grill on a deck or patio. Choose a location that you won’t mind getting a little dirty.
Next, examine the grill cover. Hopefully, if your grill has been in use over the winter, you’ve kept it protected under a cover. If it’s been in storage in a garage or shed, the cover may have ended up inside the bottom cabinet. If it’s been balled up over the winter, it’s possible tiny pests could have made a home inside and caused damage. Give the cover a thorough once over to confirm there are no holes or tears, then use warm soapy water to wash it and hang dry.

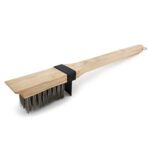
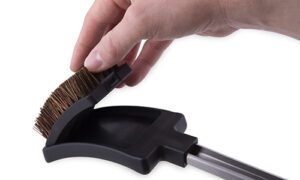
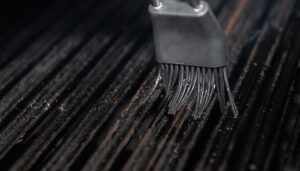
Before we get into cleaning the grill, look over your grill brush and replace the brush or head if needed. It’s one of the most neglected items around the grill, but it is vital in maintaining your cooking grids. If you’re cleaning with a dirty grill brush, you’re not cleaning at all but instead adding more dirt to your grids that will end up on your food. If the head is coated in grime, rust, or the bristles are damaged and splayed, it is time to swap it out. Think of it like your toothbrush – it’s roughly the same price and should be replaced every three months (sooner if you are grilling more often).
Cleaning the Grill Surface
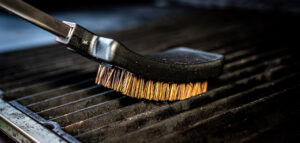
The first area to target is your cooking surface. Your grids are easily the dirtiest part of your grill. You have a couple of different options for how to clean them. The first way, and the recommended way to clean your grids after each cook, is the burn-off method. This involves getting your grill piping hot and burning up and food left on the grids. Once the grime has turned to ash, use your brush to remove it.
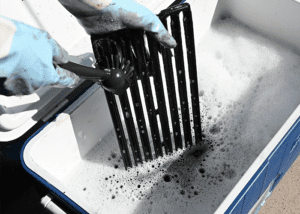
If your grids are especially greasy, you can opt to clean them with soap and water. We need to be extra careful with this process when cleaning cast iron because leftover moisture will cause the grids to rust. Start by filling your kitchen sink with hot water and a mild dish detergent. Place your grids in the water and let them sit for a few minutes to allow the soap to break up the grease. Then, you want to gently scrub the grids using a dish brush. Note, do not use something porous like a sponge or a dishrag, as these will tear up on the rough surface of the grids and leave behind fibres. You also don’t want to use something abrasive like a scrub pad, which will damage the grids and cause moisture to set in. After brushing, rinse the grids in warm water, then pat them dry immediately with a dishtowel. Do not leave the grids to air dry.
Seasoning Your Grill
Once cleaned, the grids need to be seasoned with oil to help create a new protective patina. This does two things: it protects them against moisture and rust and creates a non-stick surface for your food. You’ll need to repeat this step every time you cook for the best performance and longevity of your grids.
You can repeat this process with stainless steel rods or cast stainless grids. There is less concern about rust with stainless, but it’s still important to use a gentle cleaning method to avoid scratching and damaging the grids.
Cleaning the Interior of the Grill
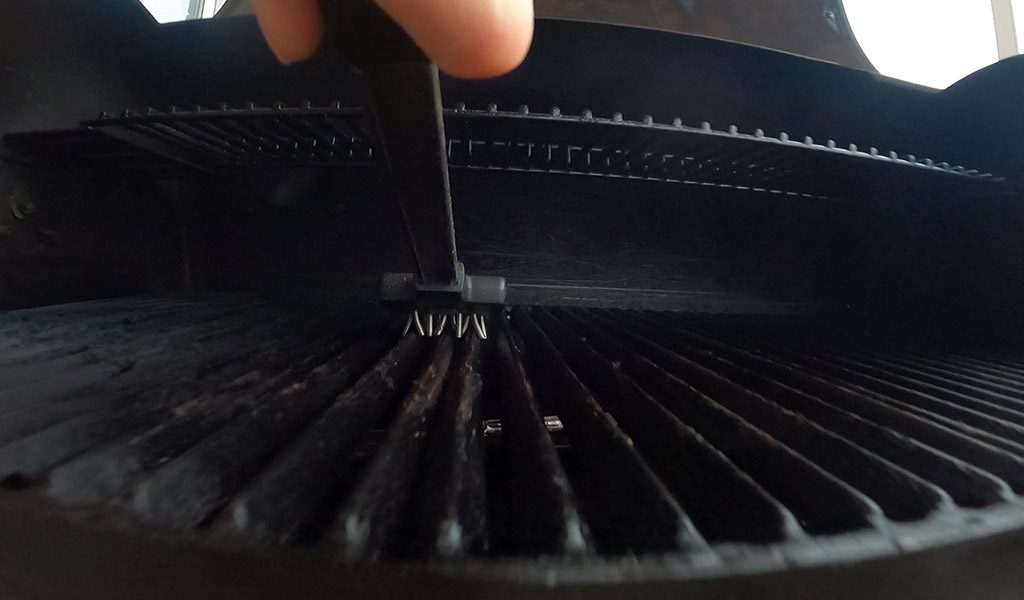
Now, let’s turn out attention to the cook box. If you’re cleaning a gas grill, pull out the Flav-R-Waves, wash them in soapy water, and towel dry. Use your grill brush to clean the burners, paying close attention to the ports. These can become clogged from grease resulting in poor burner performance. The bristles on your brush can fit inside the holes to push out debris.
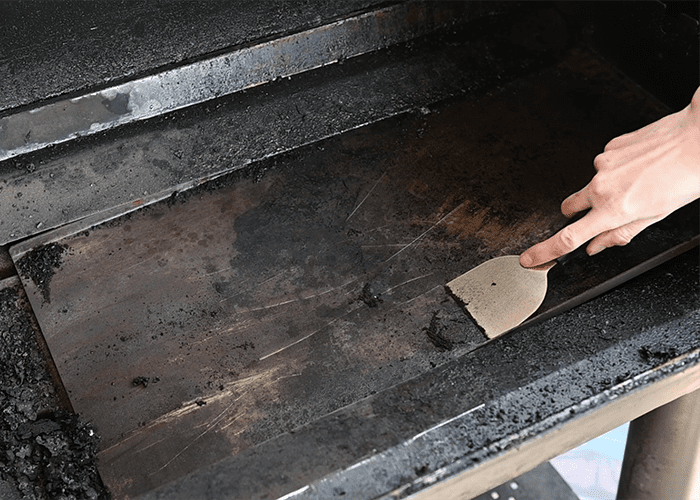
If your grill brush has a scraper, use it to target the rest of the cook box. Smoke build-up contains grease and can leave thick deposits inside the grill and lid. One common concern that we get from customers is that the inside of their grill lid has peeling paint. However, we do not paint these surfaces, and it is, in fact, carbonized grease build-up called creosote. Your scraper and brush are great for removing those flakes so that they don’t crumble and land on your food as it cooks. You may find similar build-up along the sides and bottom of your cook box, so repeat this process. Then, use a mini brush and dustpan or a vacuum to clear the dust and debris.
Cleaning a Pellet Grill
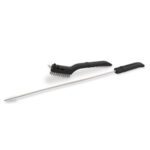
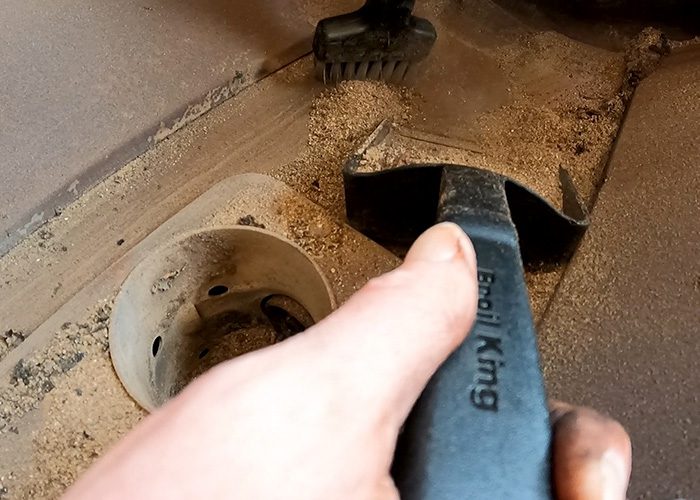
How do things differ when cleaning a pellet smoker? There will likely be a lot of creosote and grime caked onto the different pieces of the grease management system. The Pellet Cleaning Kit really comes in handy, as it has two different-sized scrapers to effectively clean off the heat reflectors, shield, ramp, and grease channel. There will also be a lot of ash hanging around the bottom of the grill, so the brush and dustpan make a quick clean-up of this debris. Use the grid lifter tool to agitate the burn pot and release the ash into the tray below. Pull this tray out and dump the waste into the trash. Finally, remove the grease cup from the bottom left side of the grill and scrape it out. Cleaning the cup is easier when the grease is cooled and solidified. You can use a foil liner in the cup to make clean-up even easier.
If you’ve been cooking on your pellet grill all winter, you shouldn’t have to worry about cleaning out the auger system. However, if you’ve left the grill dormant for a while and happened to leave pellets in the hopper, the moisture in the air could have caused the pellets to expand and jam. If you have a pellet grill purchased after 2020, you have an easy access hatch on the side of the hopper. Follow this instructional video to clear out an auger jam. If your pellet grill doesn’t have the side access hatch, follow these instructions, showing you how to remove the hopper to access the auger for cleaning.
Cleaning the Exterior of the Grill
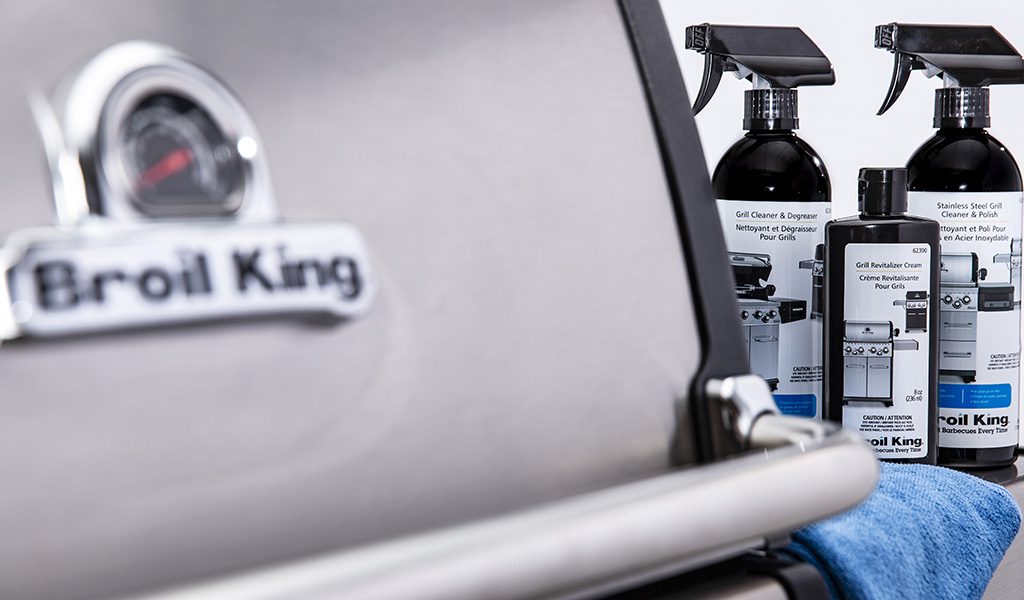
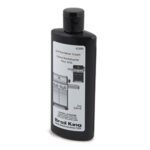
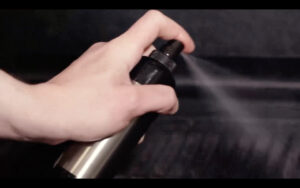
Finally, it’s time to attack those grease stains on the grill’s exterior. We have several great cleaning products to clean and polish your stainless and porcelain-coated components. Grab a soft, clean rag and start with the Degreaser Spray on your lid, shelves and cabinet. It is safe to use on stainless, porcelain-coated, and black painted finishes. For tricky, burnt-on stains, the Revitalizer Cream is excellent for lifting and renewing metal.
Once cleaned, it’s time for a polish to bring back the lustrous shine. The Stainless Steel Polish does the job and is recommended for any non-painted components. To avoid splotches in the finish, buff in the direction of the grain. And for black porcelain coated grills, glass cleaner will give those surfaces a streak-free shine.
For even more cleaning tips, check out some of our past blog posts here and here. And if you need any replacement parts, get in touch with our customer support team at [email protected] or 1-800-265-2150. Click here to find a dealer for cleaning accessories.